VENEER - filling part 2 of 4


Here's the second article of the VENEER series.
*links to all articles are listed at the end of this article*

This article explains how to fill small areas
of missing veneer for painted furniture


Pin It Now!

VENEER - glueing part 1 of 4


Here's the first article of the VENEER series.
*links to all articles are listed at the end of this article*

This article explains how to edge glue loose veneer.


Pin It Now!

HOW TO UPHOLSTER AN OPEN CHAIR BACK - step two


This is part two of how I upholstered an open back chair.


Pin It Now!

HOW TO UPHOLSTER AN OPEN CHAIR BACK - step one


I've received many requests asking for this next tutorial on how I upholstered these open  back chairs. This project has been divided into two parts, this article is part one.


Pin It Now!

MIRRORS FOR MANTLES


A friend has been looking for a large decorative piece for her mantle
and we have discussed a few options ... to no avail.
 
 
Then she spotted this mirror sitting in a big pile of my treasured furniture and the idea was born.
Plz measure this .... it's perfect! - Plz paint it ... perfectly white!
 
 
Of course it is not the only uber cool mirror I have hiding around here so I pulled out this one too
and fixed it up and painted it for some one else who might be in a similar situation.
Check out the ACCESSORIES page for this mirror and several other updates including
some over sized frames.


Pin It Now!

EMPEROR'S SILK RED TABLE - yard sales


This little red table was a blast to work on and looks great in ASCP's Emperor's Silk.


Pin It Now!

FRENCH CHAIR MAKE OVER - pale provence & drop cloth


Officially today is the first day of summer!! YIPPEE
I am writing to you this morning fresh out of the shower, towel on my head, wrapped in a
 robe, eating cereal, looking out the window in anticipation ...
 only to see another miserably wet day. Time to UPHOLSTER!


Pin It Now!

FOUR FRENCH CHAIRS - found in the shed


Last week we ended up at very cool yard sale at one of those houses out in the country where the owner decided to empty the dusty dirty contents of the old shed into the driveway and see what they could get for it all.

Pin It Now!

HOW TO WIPE ON POLY - tutorial


My go to product for a hard durable finish on a top surface is ...

Pin It Now!

CUTEST EVER BEDSIDE CABINETS - shabby chic white nightstands


I hope you like this new project as much as I do.


Pin It Now!

PRICING


I usually do not include pricing information in my articles about refurbishing furniture because everyone's demographic is different. Yesterday I did offer a purchase price for a desk I bought and I have received many emails asking for advice regarding pricing. 

The majority of my blog followers are US residents and across the board all of our demographics are way different. I encourage everyone to understand their own market and establish who their customers are without comparing to someone living elsewhere.

How many of us read a post and start to compare what is written to our own lives and abilities. Plz use common sense when information is offered and rely on your own judgment for decisions.
 
What makes us unique also makes us noticeable!!

Now that being said … I don`t feel as if I have strict rules regarding prices however I will offer some general thoughts.

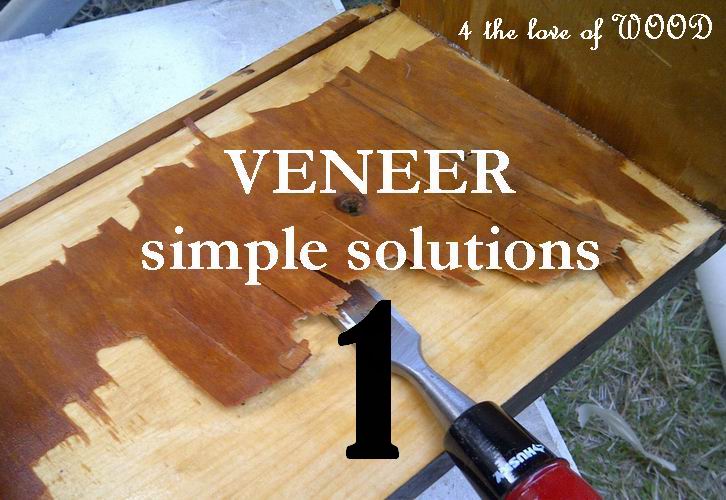
I value my time so furniture that needs repair needs to be extremely cheap … $5 to $20 I spend countless hours fixing broken furniture and I want room to compensate for the time.

Look around you, ask fellow colleagues in your area for advice, and do your own research. Hard work always gets you there.

Over time you get to understand what your market will bear for certain pieces and how much you can put into pieces. This is going to be trial and error for many starting out.

A perfect example of different demographics ...

I had just finished painting and upholstering some dining chairs and when I advertised them a US follower suggested my asking price was outrageous because she got the same chairs for half the price where she lived. My asking price was $110 each, the same price I sell most of my chairs for. The deal she was fortunate to get was in the US, where fabric costs are less, paint costs are less, shipping costs are less, and so on. I also live in the most expensive area of Canada.


Here`s a hypothetical example of how much goes into a piece, I say hypothetical because with every piece there are a large number of variables.
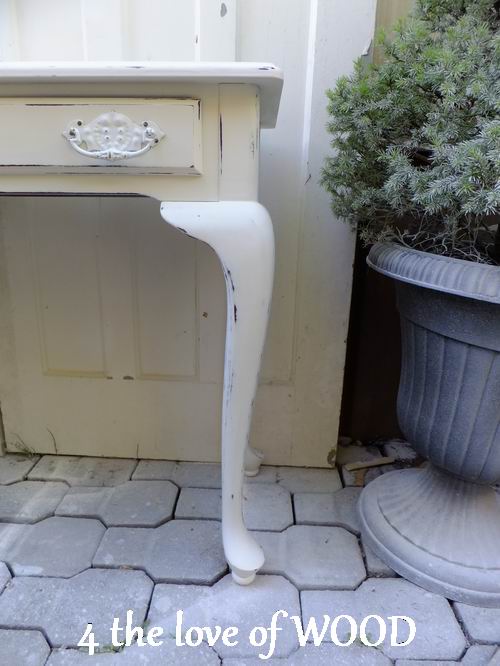
I pay $20 for a single nightstand at a second hand store.
I add legs to this night stand costing anywhere from $20 - $40
A can of ASCP cost $56 here in Canada so take into account the cost for paint
A can of AS wax cost $39 here so add another cost for the wax
I use a paint sprayer so there is equipment costs and electrical
Supplies and tools used – wood, saw, drill, screws, nails, appliques, filter, water, paper towel, brushes, sandpaper, filler
Hardware usually needs to be added at a cost of $10 - $20 
Depending on the amount of work it can take up to 8 hours over 2 days to finish.
And lets not discount my camera, computer, Internet, and all the time needed to photograph and post on line. I ask $200 for this nightstand, averaging all costs out I might get paid $100 for all the hours I put into redoing this piece of furniture.

 
And my final and most important note on the subject of pricing ...
 
You must know when to walk away from a purchase if you don`t want to lose money.
There is another piece waiting around the corner.


Pin It Now!

THE MOST GEORGEOUS DESK

 
If you follow on Facebook you know George has been bragging about a new desk
I have been working on. Well it's finished and in place in the kitchen.
 
 
First thing I feel in love with when I saw this desk was the legs, big surprise huh?
I found it while we were out yard sailing this past weekend.
 
 
Then I realized this indented curve in the center would lends its self perfectly to my small space.
That was the moment when the light bulb went on!!!
 
And when I discussed with George swapping out his desk it was a no brainer.
the words he used when talking about his current desk was "it's fine"
the words he used when I asked about the new desk was "it's pretty cool"

 
When George is sit here and I have to walk past him it is tight,
with this newer desk there is a bit more room.
It may only be inches but around here every inch counts.

 
I had planned to strip and stain the top until I found this under the old finish.
So I have simply stripped and waxed instead.
SEE I REALLY DO LOVE WOOD!!!

 
One handle was missing but I had a similar looking pair so I installed them on the middle drawer.

 
The desk top even got an accessories update.


Pin It Now!

BENCH BUILDING TIPS - 1950's bed to mudroom bench


I have built a lot of benches in my lifetime. This one however was built using a bed frame from the 1950's.
Pin It Now!

FRONT MOUNTING HARDWARE


Sometime you have to choose front mounting hardware.
Pin It Now!

WHITE WASHED BOARDS - how to tutorial


White washing boards is one of the easiest paint techniques to do.
Pin It Now!

SHABBY CHIC OFFICE FURNITURE


I have a lovely desk, a very gorgeous work place that most would envy.
I purchased the desk from a second hand store, replaced the broken legs with antique claw feet,
and built the upper hutch to fit on top. It is perfect for our space and my blogging headquarters.

Here it is in the far corner ...


But I have a second desk that I adore just as much but never get to use. It's an amazing English ladies
 writing desk, that was it's title in the sales listing at the auction when I bought it. It's the perfect ladies desk, the kind you can have in the middle of the room and get to sit behind to receive clients at. 


I do not have the space to have it set up this way and believe me my mind has been
trying to for find the right space in our little home for 2 years.


As I mull over these photos I am still wanting to sit at it and create some wonderful drawings
or simply read the next magazine that starts to inspire another of my creations.
The time has come to find a better home where it can be loved and most importantly used.
 

This whole process unfolded when I purchased 2 book shelves to redo and I started to see the
potential in a great photo shoot setting up the whole office space for a short period.
Now I can say I did it and I had the hip and cool office space, I just don't get to keep it.

I put white washed tongue and groove boards on the backs of these shelves. 
A tutorial on how to white washed boards can be found here:


Pin It Now!

THE SECRET TO MY HOME TOUR


Today I am happy to share a home tour update with you.
I finally found the right piece for the wall that helps define a line between the bedroom
area and the sitting area. For those not familiar with the space,
the main living space is set up like a bachelor suite, kitchen, living, sleeping all in one open area.
 
The full HOME TOUR can be seen here with a big secret at the end, be sure to read all the way to the bottom.
 
I found this reclaimed window cabinet on the roadside ... 
Maybe if everyone chanted quietly "Curbside Treasure!" at the same time your neighbors will put something great out for you to find too ... It was just a thought.
 
One pane of glass is missing and it's really crooked but I adore it, and you see how well it
works over the printer trunk.
 
BEFORE                     AFTER
 
 
For those who missed out on a cool way to hide your printers here it is again ...


Pin It Now!

PAINTING MASON JARS


I have a paint spray gun and a compressor so I spray my glass canning jars. I spray them to get a uniform finish without brush markers. It can go quickly however as with anything there are always draw backs.
Pin It Now!

Email your Questions or Comments

Name

Email *

Message *

POPULAR ARTICLES

Your first stop for vintage hardware