Showing posts with label tips. Show all posts

FIXING SPLIT WOOD PANEL - white dresser with india knobs


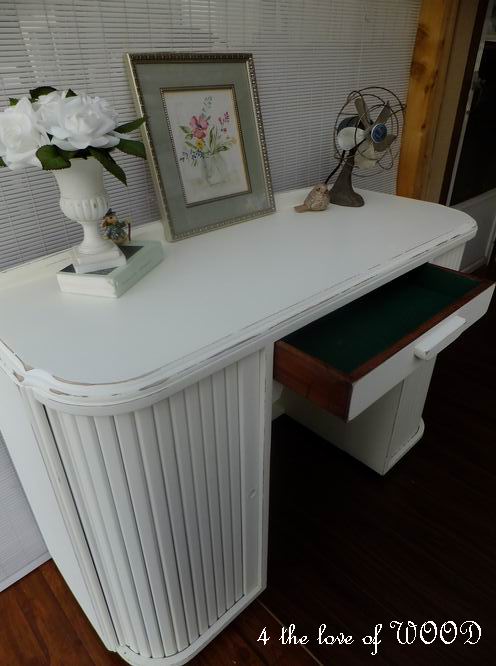
I felt compelled to save this dresser
when I came across it at a yard sale.
The lady who owned it had bought it
to refinish and was told the split side
panel was an easy fix. Once she got it
home she realized this was NOT A
SIMPLE FIX.


The two panels had to be leveled and lined up, glue
 applied, and clamped together.

Inside I used a couple of broken metal hinges to stabilize the
 fix. The hinges are not the solution to holding the
 panels together, but they will hold everything in place while
 the glue sets.


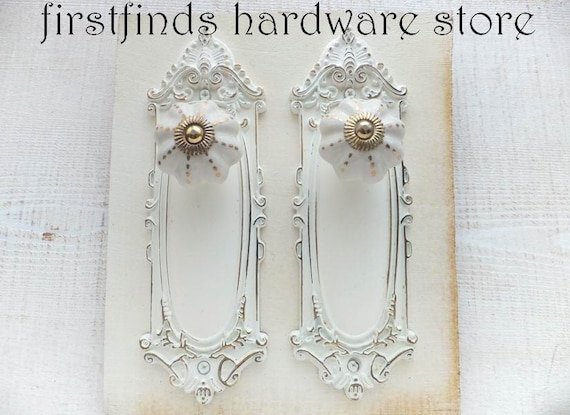
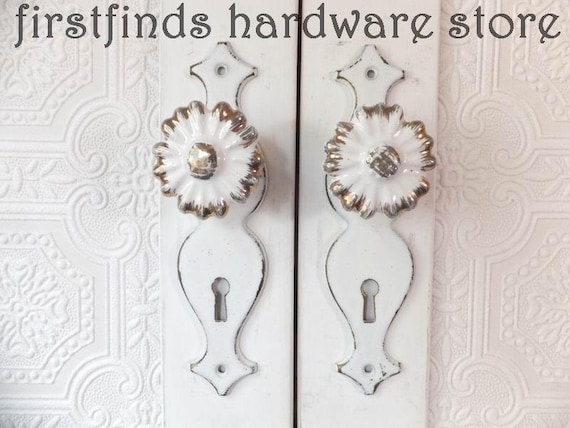
Once everything was fixed she got painted in a creamy white
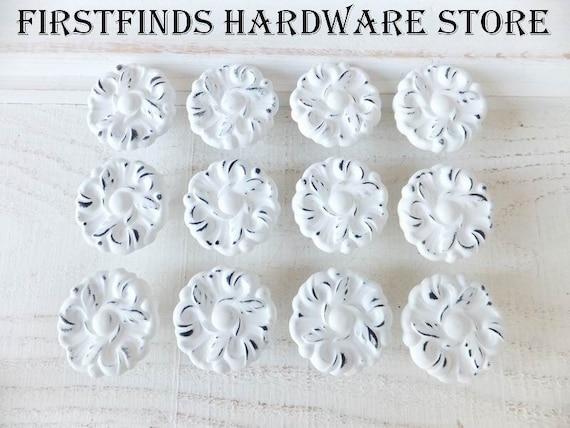
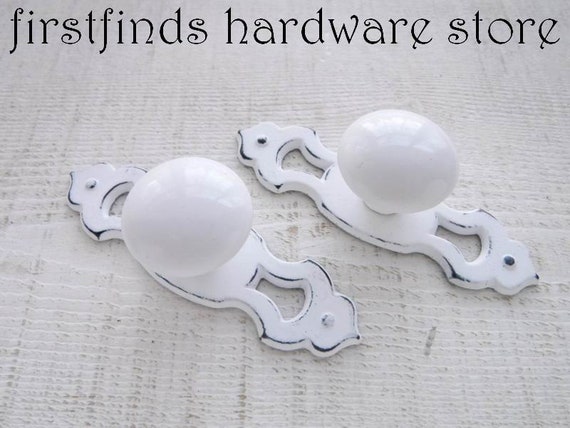
 ASCP, and new India bone knobs added. I found the six of 
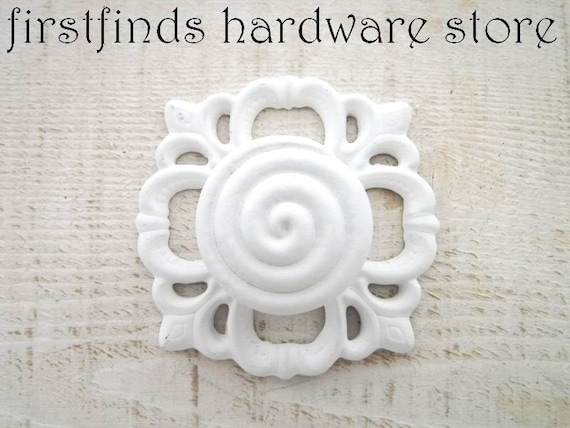
them at my local HomeSense. The plates you see behind the
 knobs are antique metal pieces also painted in the same
 creamy white ASCP then wet distressed.


Everything was lightly edged distressed and the three 
drawers were lined with a floral black and white wallpaper.


********************************************

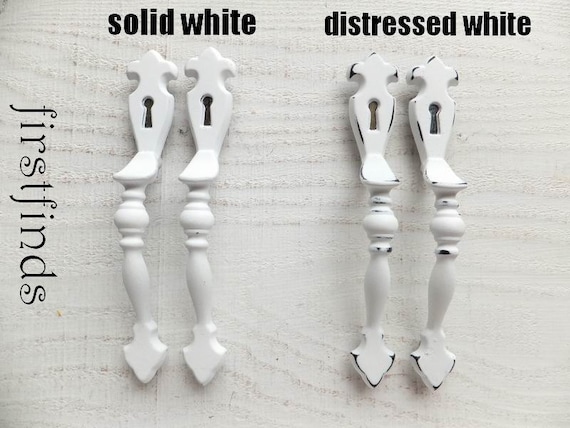
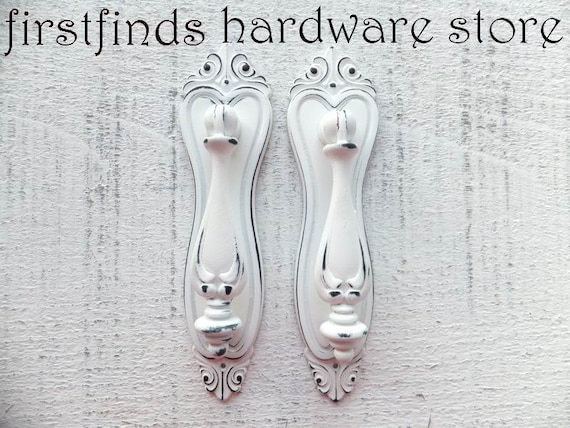
Stop into FIRSTFINDS HARDWARE STORE and see
if we have any shabby chic white hardware for your next project.


TIL NEXT TIME


Pin It Now!

SUPPORTING YOUR BED


Here are some tips on installing cross supports for your bed. This frame is built for a box spring and mattress, if you wanted to use it without a box spring you would need a center support to the floor and twice as many cross supports i.e.. 16


Pin It Now!

VENEER - bubbles part 3 of 4


Here's the third article of the VENEER series.
*links to all articles are listed at the end of this article*

This article I will show you how to get
bubbled surface veneer glued back down.


Pin It Now!

WHITE WASHED BOARDS - how to tutorial


White washing boards is one of the easiest paint techniques to do.
Pin It Now!

SAVE MONEY - my screw drawer


Something I find very handy and saves a great deal of money on screws is my screw drawer.


I dismantle a great deal of furniture and when I do this I keep all the screws and other misc. hardware.


All the screws go to the screw drawer where I have an old cookie sheet that spreads them out.
When I need screws for another project I can simply search back and forth over the tray
and find what I need.

Pin It Now!

BREADBOX DESK - white distressed desk


JUST A SIMPLE SHABBY CHIC REDO
ON A UNIQUE DESK


 BREAD BOX STYLE SLIDING DOORS
NEAT EH? <--- canadian


 BEFORE & AFTER


ENTIRE SURFACE SANDED

4 COATS OF SPRAYED PRIMER

EDGE DISTRESSED SANDING BETWEEN ALL COATS

2 COATS OF FLAT WHITE PAINT ON THE BODY

3 FINISH COATS OF SEMI GLOSS ON THE TOP SURFACE


Pin It Now!

PEARLS FOR A CHANDELIER - chandelier beading tips

This time around I'm using pearls to bead a chandelier.
I want to drape it with tonnes of beads and in the hopes it looks stunning but you
won't find it finished here. I've only been working on it a couple hours and they
take a long time to finish.


I want to offer some tips as I know one or two of you want to try this yourselves.


Organize your beads, these little suckers like to bounce all over the place.
Anticipate if one slips out of your fingers where will it fall to.
I use a shaggy rug underneath to catch them rather then listening to beads
bounce their way under the furniture or down the hall for George's feet
to find in the dark of night on his way to the bathroom.


Keep track of how many of each you have so you're not short before you string that last bead.


Trial and error I figure out the look I want by holding different patterns of
strung beads up to the chandelier before finally committing and tieing it off.


I have a hook in the ceiling where I hang my chandelier to work on.
I use a long piece of chain so I can sit in my office chair while working
at a comfortable height. 


The chandelier can be raised up when I'm not working on it.
When ever I have some spare time in the evening I can sit
down string some more beads while listening to what ever
George has decided to watch on TV.


I also have a hook out side where I can hang the chandelier
to be painted.


Heads up for all those local followers and subscribers
George has decided this Saturday we are having a

His 2 daughters are coming to visit soon and we need to lighten the load around here.
I still have quite a bit of *stuff* hanging around from years ago
that needs a new home as well as time to clear out many
furniture pieces that I'm never going to get to.
I'll post more about it over the next days.

Pin It Now!

VINTAGE SEWING CABINET - signature white


AS CUTE AS CUTE CAN BE
A simple vintage sewing cabinet made over with a coat of paint in my signature white.

Pin It Now!

SIGNATURE WHITE PAINT FINISH - how to paint with latex


Thank you for your emails and the complements.
I'm so very glad I have inspired you as so many
 inspire me on a daily bases.
My signature *white* is a custom color I have
 mixed at Cloverdale paint, a Canadian company.

  • It is a creamy white semi gloss latex.
  •  It can be used in white or off white decorating.
  • It gives the finished piece a sophisticated look.


The process for my signature white is quite
 detailed as I'm looking for a smooth, clear, long
 lasting finish. Rather then a distressed
or antiqued look.


 I do distress some of these pieces, however it
 is usually only lightly distressed and most steps
are still followed.

The real trick to the signature finish is the primer.
  1.  My primer is tinted a shade lighter then the paint.
  2. I use more coats of primer then paint. 
  3. Primer dries quickly and adheres well.
  4. Primer will show imperfections still needing attention.
  5. Primer is easy to sand between coats.

Primer smooths the undersurface of the finish,
 similar to way we woman use foundation make-up.

Pictured here is a grey primer I usually use for darker colors.
If your surface is shiny I would rough it up with 80 grit sand paper before priming.
I prime a minimum of 3 coats with a quality brush.
I use a brand sold at HOME DEPOT called
 Performance Select SILVER. The smoother your brush feels
in your hand the smoother it will apply paint. What determines
 when I have enough coats of primer is if the piece
 looks finished. The resulting 2 coats of paint I
 then add smooth the top surface and make it easier
 to wash or wipe later and of course
the final color and gloss.

 Latex paint takes 28 days to fully cure so you must
 be careful with your top surfaces once completed
 with adding accessories such as lamps and decor.
 
 Alternative you can stain the top surface with
 a rich dark walnut which ends up looking stunning
 against the creamy white and then a clear coat
 is added.

Hope this helps with your current projects!


Pin It Now!

USING WOOD FILLER FOR OLD HARDWARE HOLES - tutorial


Are you looking to change some handles or knobs on a paint project? I have included photos and instructions in this article showing how I fill hardware holes so I can use a different style of handle or knob


Pin It Now!

Email your Questions or Comments

Name

Email *

Message *

POPULAR ARTICLES

Your first stop for vintage hardware