My go to product for a hard durable finish on a top surface is ...
 |
| Minwax's wipe on poly. |
I remember the first time I used it. It was easy to understand
and follow the directions that are offered on the can and the
resulting finish is very hard and durable.
Before
 |
I took photos to share when I applied the
Wipe On Poly to the surface of this old desk.
Wipe On Poly to the surface of this old desk.
This surface was stripped and stained first and let to dry.
I recommend using gloves.
#1 wipe away any dust, dirty,
or left over stain that might be sitting on the surface
I recommend using gloves.
#1 wipe away any dust, dirty,
or left over stain that might be sitting on the surface
**************************************
I pour the poly right on the surface of my project and use a
folded piece of paper towel to spread it over the surface.
I then wipe it from side to side covering
the whole surface in a thin coat.
A thick coat can result in a clouded finish.
If you have freshly stained your piece
your rag will look like this the first time
Nothing to Worry About
your rag will look like this the first time
Nothing to Worry About
leave it dry for 4 hours minimum
once dry, lightly sand the surface 220+ grit
this removes dust particles that might have fallen on to the wet surface before drying.
this removes dust particles that might have fallen on to the wet surface before drying.
re-apply as many times as you like,
waiting 4 hours minimum between coats
waiting 4 hours minimum between coats
always move with the grain
after the final light sanding, apply a coat of wax and buff
Each time your finish is drying it collects air born dust
particles that create a rough texture. Sanding between coats
will eliminate that roughness and giving it a final coat of wax
makes it super smooth and soft.
particles that create a rough texture. Sanding between coats
will eliminate that roughness and giving it a final coat of wax
makes it super smooth and soft.
PLEASE NOTE :
Wipe on poly will yellow light colored surfaces.
*********************************
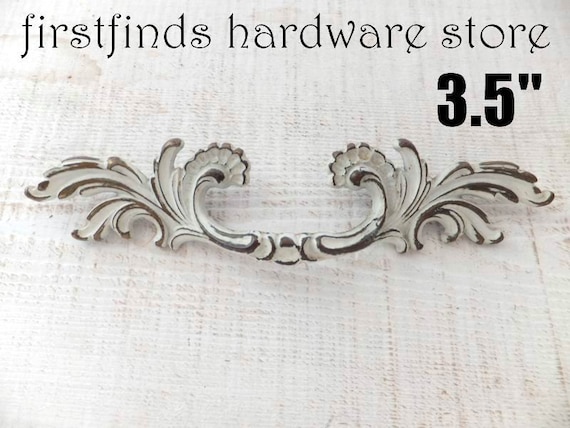
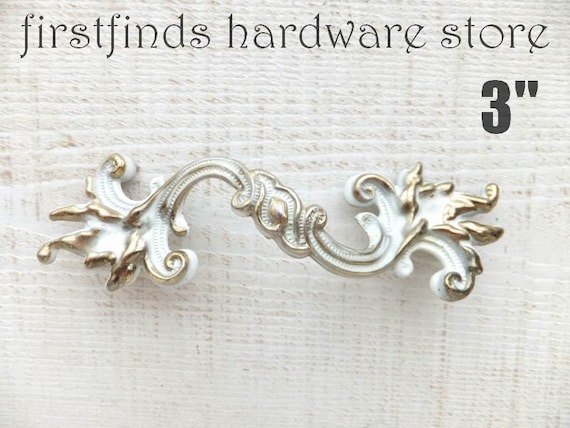
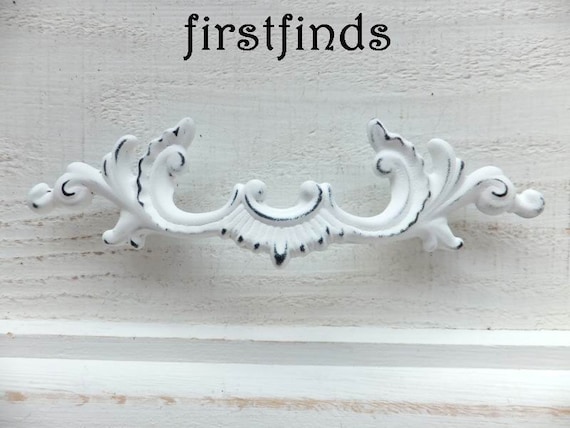
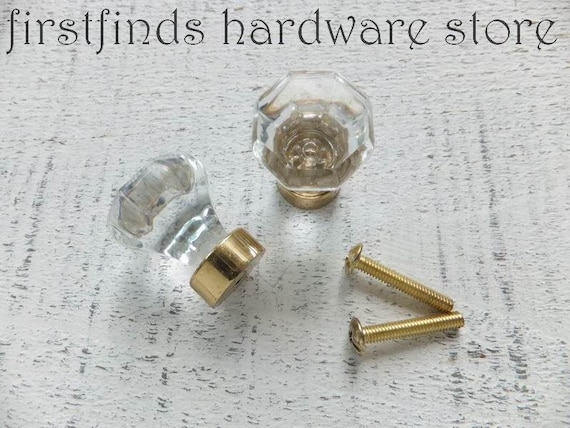
Stop into FIRSTFINDS HARDWARE STORE to see
if we have any vintage hardware for your next project.
CLICK EACH PHOTO FOR MORE INFORMATION
CLICK EACH PHOTO FOR MORE INFORMATION


