FURNITURE APPLIQUES - trumeau mirror


I finally made over my very own Trumeau mirror.
It has been stashed in my work room moving from place to place for years.


Trumeau mirrors are French wall mirrors originally manufactured in the 18th century.
The French word trumeau describes the space between windows.
Trumeau mirrors were originally intended to hang on a wall between windows,
providing a decorative element and to bring more light to the room.
The mirror is almost always rectangular and sometimes includes a decorative portion at the top,
with the mirror below it. A genuine antique trumeau can cost between US$2000 and US$20,000.
My trumeau is probably from the 1950's and was fairly flat with the perfect area to add a great applique.

What I needed was the right motivation and that came when I found the right applique.


The applique I used on my mirror is a reproduction that I bought from a storage unit sale.


Here is my Trumeau mirror in all her glory and I'm in love!


Another idea for appliques is using these plastic decorative pieces that I found at the thrift store.


With a jigsaw and some caution you can cut them apart into fancy applique pieces.
 Please be careful!!


**NOTE**
When you are cutting plastic with an electric reciprocating blade,
the plastic melts from the friction and can fuse back together as you pass through it.

If you are not comfortable with a jigsaw try checking out small hacksaws or rodsaws
at your local hardware store. Both these options are manual hand tools.


While you are there pick up some new blades for your knife,
cause you need to trim the rough edges. This kind of plastic can not be cut with a knife.
Only use it to shave the rough edges!


Some rough sandpaper (80 grit) can also help to smooth the edges.


These are light enough to glue to a project but small nails could be used with pre-drilled holes.
DO NOT try to drive a nail through the plastic without drilling first. They will break!


Here is how 2 of these pieces were used.
***********************************
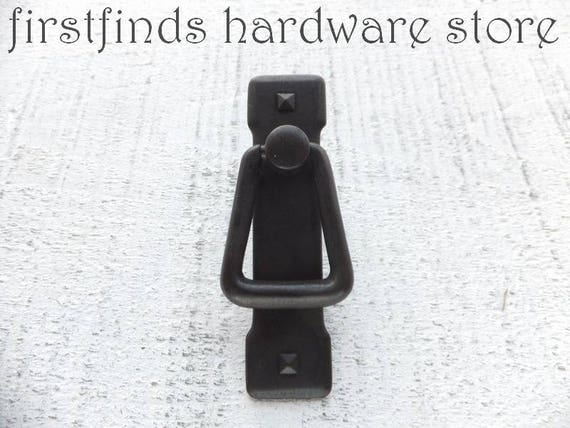
Here are some unique hardware pieces available at


Pin It Now!

UP-CYCLED ORDINARY OLD DRESSER - map drawers to french provincial


Not every project I do works out the first time around.
Pin It Now!

HOW TO MAKE A DRESSER 2ft TALLER - cottage country cabinet


I once saw something like this cabinet online and I
knew I wanted to recreate it so it went on the TO DO
list. One night late last year I started to tear several
pieces of furniture apart, 5 days later this is what
I had created.


Pin It Now!

CHEATING WITH CHAIR UPHOLSTERY - tip


This is a mini tip to help your fingers and blood pressure get all the way through
removing old fabric from the wood base of your dining chairs.
 
 
Using something to pry the staples with like a flat screw driver
and something to pull with such as pliers, get that fabric ripped from
the wood anyway you see fit. A bonfire is not an option for the upcoming tip to be effective!
 
 
You have now pulled 7 hundred and fifty six staple and along the way you have avoided
the tricky stuff like these clumps from a happy staple user of the past.
Sometimes patience isn't enough to deal with every last staple and messy crap so ... 

 
Pull all the easy ones, anything sticking up but leave the rest ...
then flip your board over and use the clean side.
 
 
This side of the wood has not seen the light of day in countless years and is brand new.
Unless you are the princess and the pea no one will feel or see a few staples left behind hiding
under new foam.


Pin It Now!

DARK WAX TUTORIAL


The left side is unfinished chalk paint and the right side has been dark waxed.
This process can be scary but if you take the right steps it's like magic.

I've used Minwax natural (yellow bits) so you can see the wax better during the process.

When applying wax work in small areas.
Apply clear wax to your unfinished chalk paint.
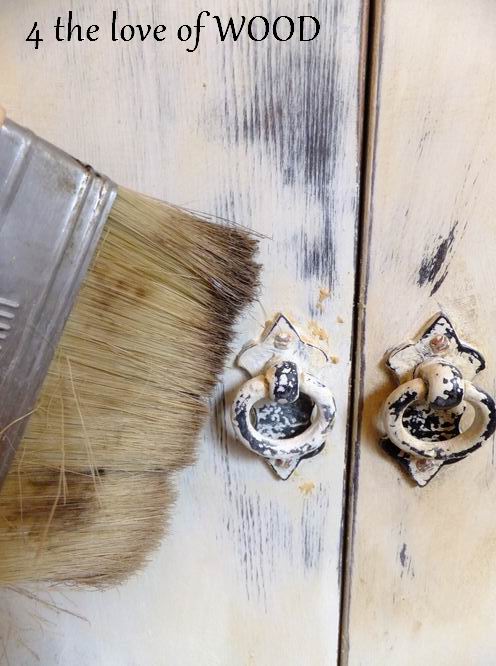
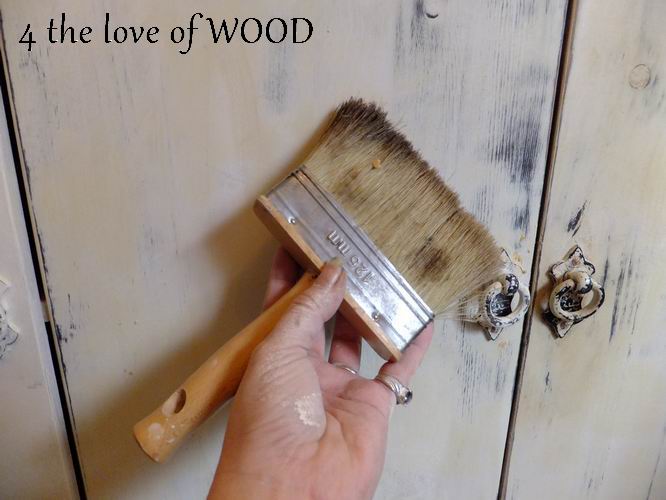
I have used a large deck brush to push in and around the handle.
A brush works best with 3 dimensional details. You can use old paint brushes for this part.

Deck Brush found at Home Depot approx $10 good for large projects but does loose hairs often
This is the important step to understand ...
your clear wax is absorbing into your chalk paint preserving the color and protecting your paint.
It has created a base to which you can apply the dark wax and have it move around much easier.


Remove any excess clear wax and don't worry about buffing.

Wear a rubber glove when using dark wax

Now dig deep, count to 10, hyperventilate if you need to and slather on the dark wax.


Work the wax into the crevises and corners with your brush.
The dark wax is simulating dirt and wear accumulated over decades.


Here is the magic ...

Apply more clear wax and you will see the dark wax start to lift and move around.
Continue using your rag or towel to get the intensity you want.
The trick is the dark wax is sitting on top of the first layer of clear wax.


Use your brush again to smooth around details and start to buff.


 Check out what ended up happening to this cabinet here:


****************************************
LAST BUT NOT LEAST ....
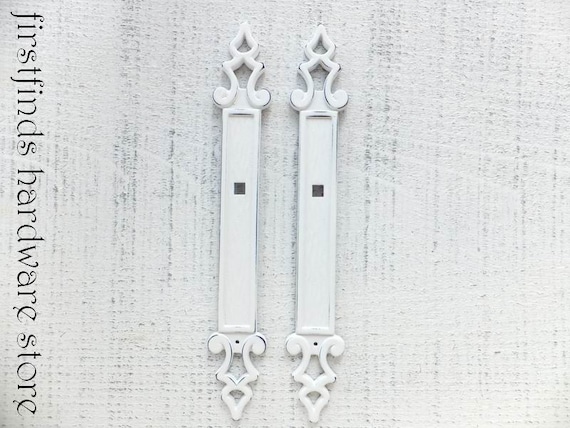
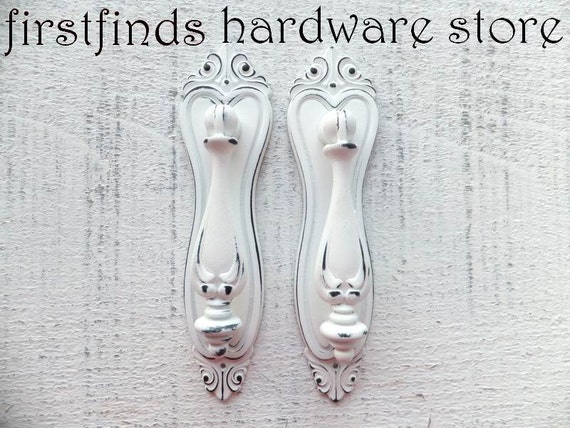
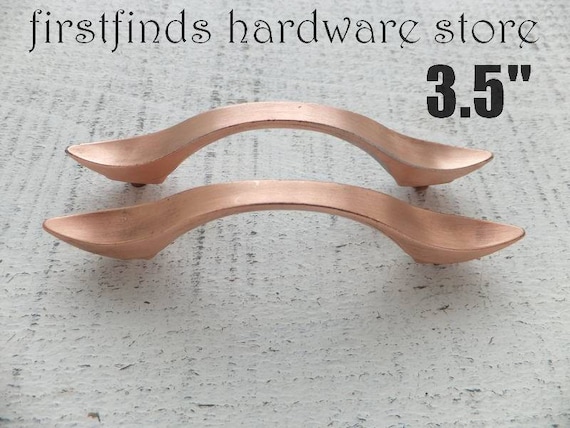
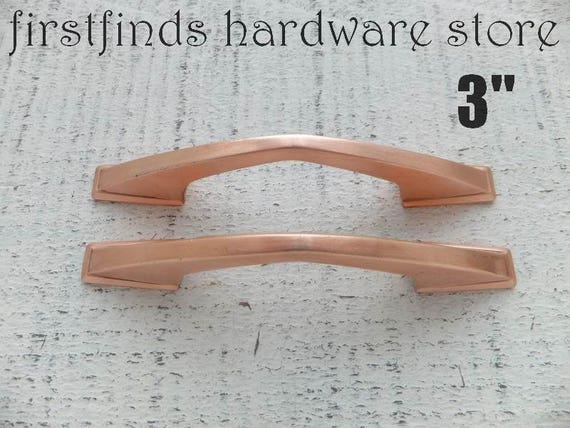
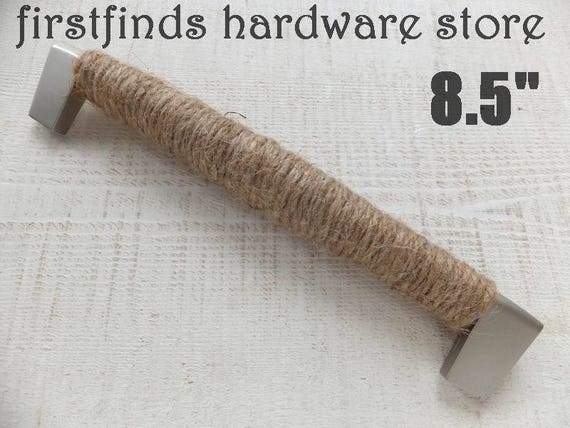
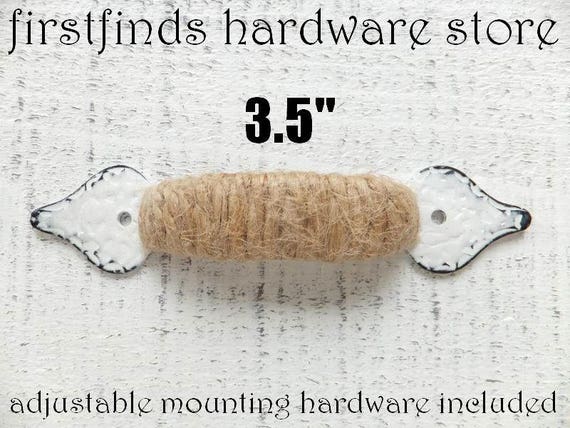
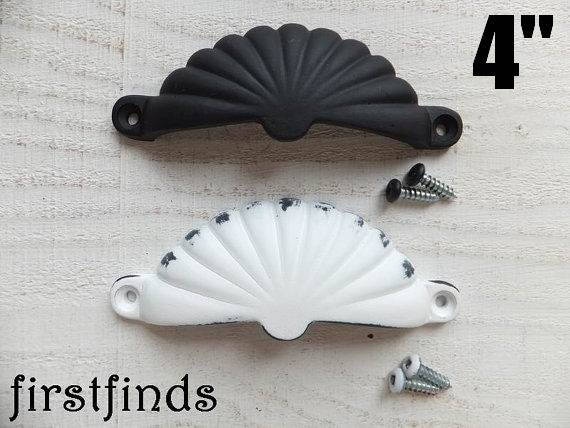
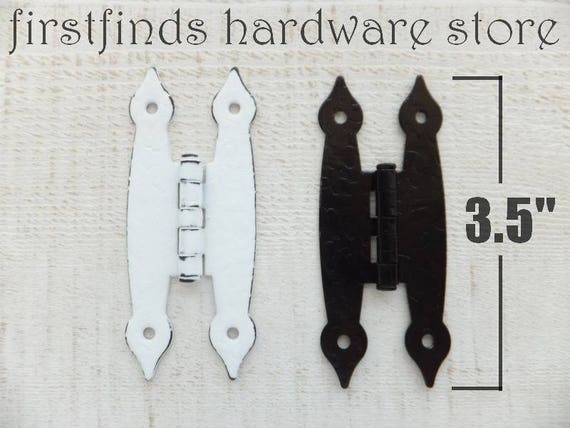
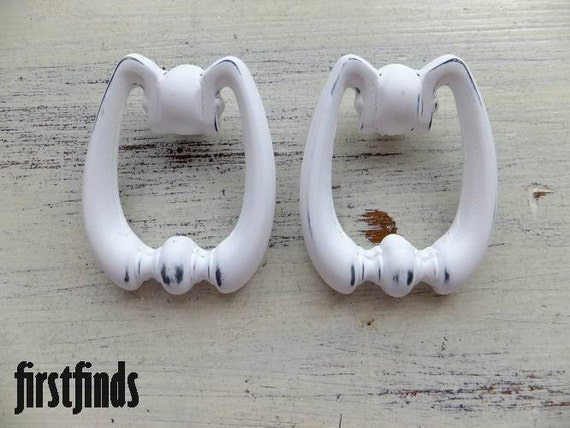
Here is a quick look at some of the new hardware available in the Etsy Shop .

There are 1000's of pieces of up-cycled hardware to choose from at 
firstfinds hardware store

  
https://www.etsy.com/ca/listing/511729001/6-handles-shabby-chic-swirling-white


https://www.etsy.com/ca/shop/Firstfinds?ref=hdr_shop_menu&search_query=misfit+knobs


https://www.etsy.com/ca/listing/496024614/4-ornate-drop-pulls-with-backplates

Pin It Now!

USING DARK WAX TO AGE A FINISH - royal crest cabinet


TAKING THE ORDINARY AND MAKING IT EXTRAORDINARY.
I would really like to do this again some day on another piece.

Pin It Now!

FIXING A BROKEN DRAWER - tutorial


Okay ladies this one is for you.


Pin It Now!

SOFA TABLE FROM A SEWING TABLE - parts used to build


I built this sofa table starting with a sewing machine cabinet I purchased at a thrift store.
The finish was in fair shape but many of the moving wood parts didn't work properly anymore,
and the machine wouldn't lift out of the cabinet to use.


The legs are what really caught my attention from across the store.


Once I started to work on removing the machine I found a makers mark on the cabinet.


Made In Yugoslavia ... The machine is a Piedmont from the Hudson's Bay Company.


Anyone need parts for their Piedmont?


I was able to take the whole cabinet apart to start rebuilding a longer table.
I used a kick board for the front, and aged, stained, and waxed some new wood for the top.


Here's a close up of the finish I created with dark wax on the new top.
 

The original legs were re-purposed and parts from inside to rebuild the new console table.


Pin It Now!

BEFORE & AFTER 2012 - recaping projects


For the very last post of this year I'm sharing 20 of the most dramatic Before and Afters of 2012.
Pin It Now!

CLOCK MADE FROM SALVAGED WOOD - recycling fence boards


I would love to share with
you how I build my very
first clock. I hope this
article offers some useful
tips if you want to try
making one for yourself.

Pin It Now!

WINTER COCOA - more mason jar ideas

 
Here is your next holiday gift idea using mason jars.
 
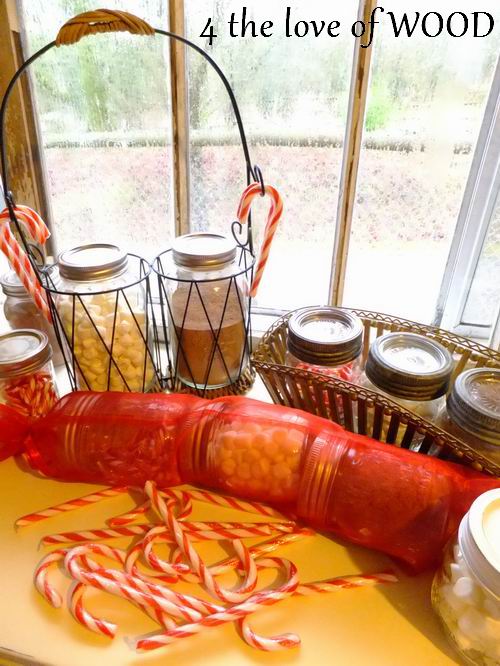
Fill your cleaned jars with broken-up candy canes, marshmallows,
and hot chocolate mix. It took 12 medium length candy canes to half fill this jar.


Your candy canes could also be kept intact to act as a stir stick.
Get creative and hang them from a basket or tie them up with ribbon to each jar.
 
 
Any size mason jar can be used just remember the bigger the jar the more filling it will need.
Have fun creating these last minute gifts that will warm every one's heart and tummy.
 
 
Pick up thrift store wire baskets to transport your gift and display on the gifties kitchen counter.
 Embellish the baskets with ribbons and bows, or get creative a make
a fancy label with ingredient lists and instructions.
 
You could also stack your jars up in a tall wine bag left over from a wine gift last year.
Put those bags back into use for an alternative festive drink.
 
 
HAPPY HOLIDAYS


Pin It Now!

MASON JAR DECOR AND LIGHTS - christmas tutorial


This is a simple tutorial with big impact and continued use. It's also another use for our ever loving Mason Jars we ALL love to collect.
Pin It Now!

TIS THE WEEK BEFORE CHRISTMAS - holiday decorating


Twas the night before Christmas, when all through the houseNot a creature was stirring, not even a mouse.
The stockings were hung by the chimney with care,
In hopes that St Nicholas soon would be there.


Pin It Now!

Email your Questions or Comments

Name

Email *

Message *

POPULAR ARTICLES

Your first stop for vintage hardware