I would love to share with
you how I build my very
first clock. I hope this
article offers some useful
tips if you want to try
making one for yourself.
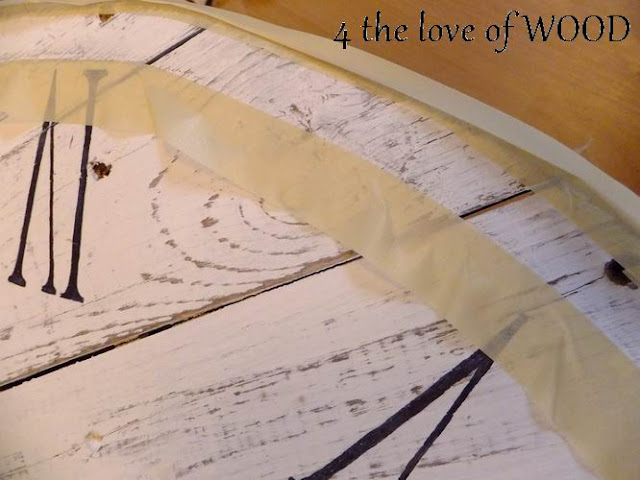
Here you can see the close-up details of the distressed wood
and the fleshly finished Roman numbers before they got an
aged look. The tape was used to make the black edge circles.
you how I build my very
first clock. I hope this
article offers some useful
tips if you want to try
making one for yourself.
I built the face of my clock from old fence boards,
screwing strapping boards across the back. Once it was solid I
drew a circle around the outer edge with a pencil.
With a jigsaw I then cut the circle out.
TIP:
It helps a great deal if you start out with a NEW sharp blade.
I used Annie Sloan Chalk Paint in Pure White for the face,
and then the paint was distressed with 180 grit sandpaper.
I hand did the graphics in grey and the numbers in black.
*******************************************
Here you can see the close-up details of the distressed wood
and the fleshly finished Roman numbers before they got an
aged look. The tape was used to make the black edge circles.
The fence boards measured 3/4" thick and I bought a clock
mechanism made for a 3/4" surface, however I still needed
to drill out a bit to get the nut on and tightened up the right
amount.
The final step and I suppose very critical one is to get the
hands installed correctly making sure they have enough space
between each so your new clock can keep perfect time.
I've wanted to try this for some time and in reality it's just
a round wood sign. The tricky part was learning
how to installing a clock mechanism with really long hands.
*******************************************
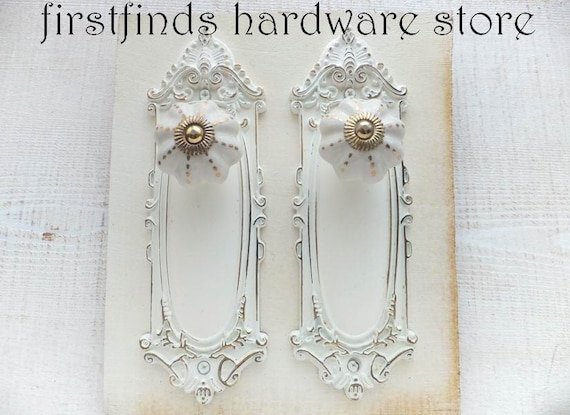
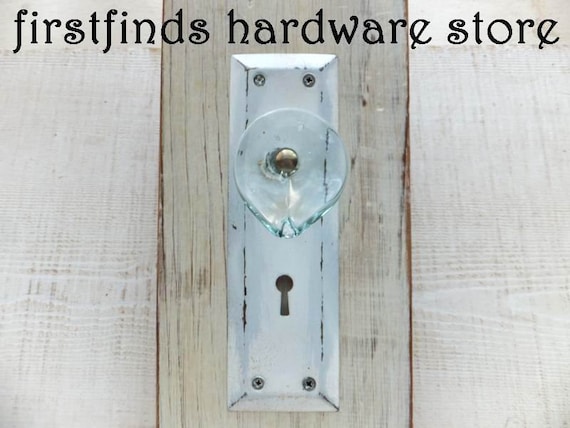
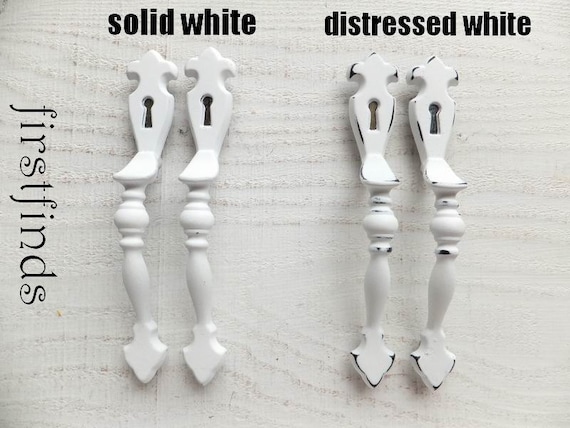
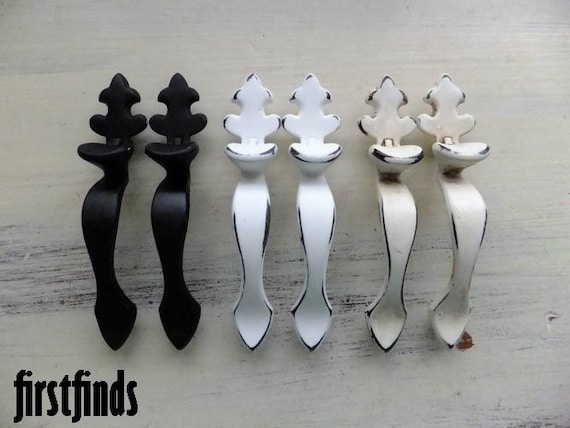
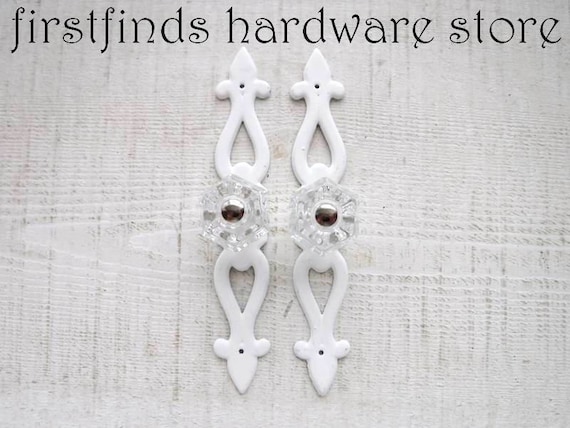
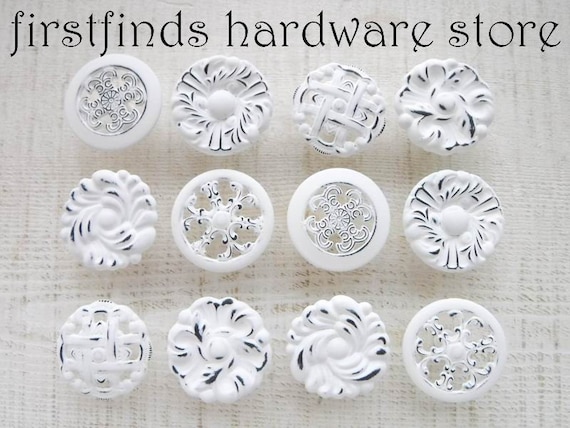
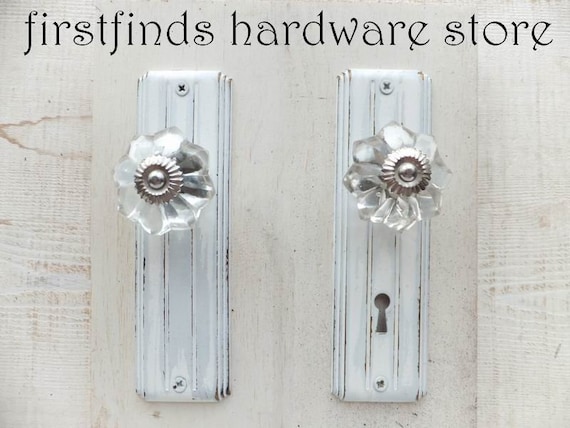
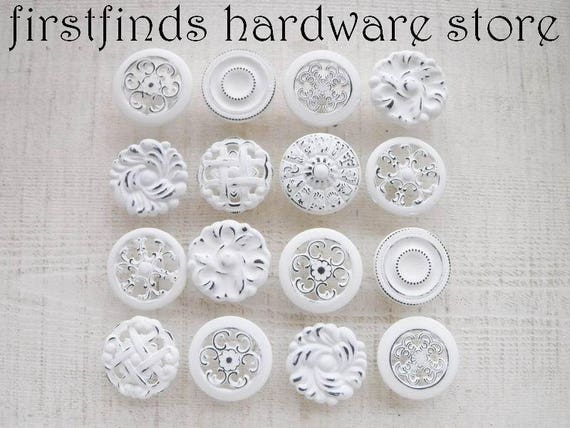
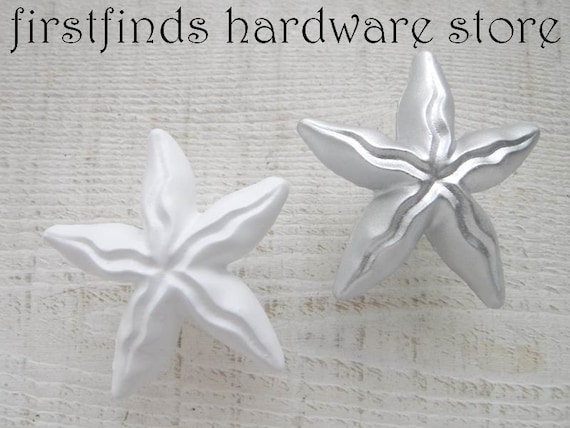
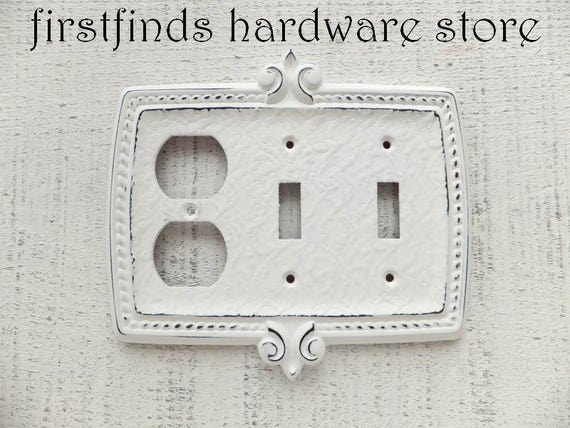
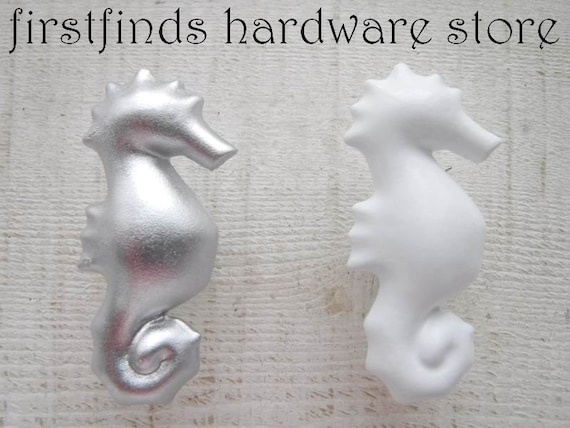
Have you stopped into firstfinds hardware store lately?
Here are just some of the items available for your projects.
click on each photo for more information
click on each photo for more information


