Showing posts with label dressers. Show all posts

STACKING DRESSERS


This is a photo taken looking into my dressing room showing two stacked dressers.
Pin It Now!

FIXING DRAWER STOPS - antique dresser drawers


This dresser was missing all of it's drawer stops. This meant the drawers would push too far inside the body. 

Pin It Now!

SPRING FLING DRESSER


This dresser was named the Spring Fling because of the soft colors used to finish it and it was spring time when I was painting it. It was originally a road side find. 
Pin It Now!

BOUDOIR CORSET DRESSER


I started applying a graphic to an antique tall boy dresser last week.
After many hours of the smell of sharpie markers I have finished.
NOTE:
this project is for an advance DIYer
 
 
I found the graphic at OLD DESIGN SHOP:
and I used a box of a dozen sharpie markers to fill in the image.


Transfer methods can be found here
Read through the list of 12 options to find the method that will work best for you and your project.
  
 
Here is a look at the dresser before I started.
 
 
I ended up printing this image on 8 sheets of landscape paper (side ways), 2 across and 4 down.
You can use http://www.blockposters.com/ to divide your image up, I definitely recommend it.
 
 
Here is a close up showing what it looks like after waxing and sanding the image.
** WAX BEFORE SANDING **


***********************************
 
ALSO ...
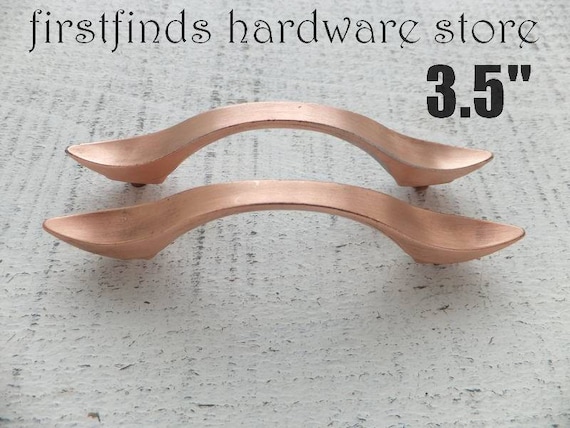
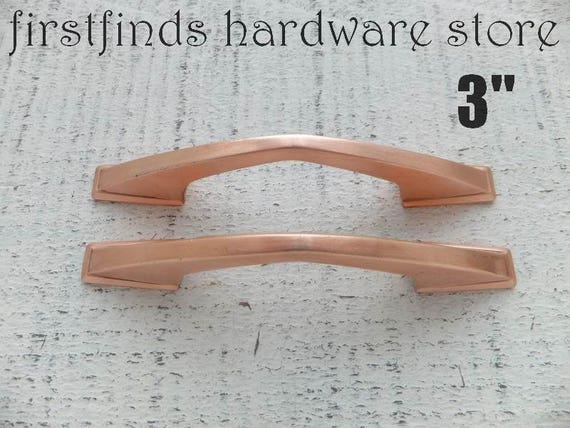
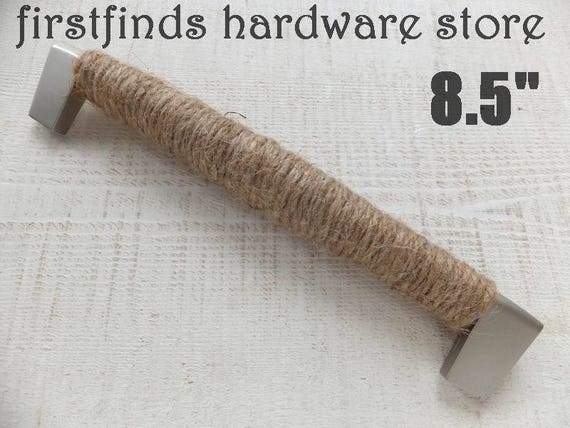
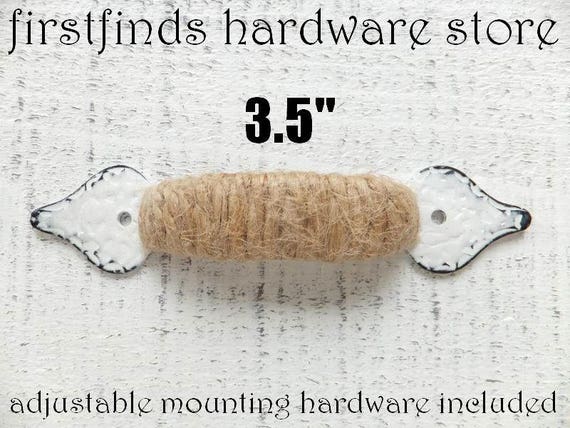
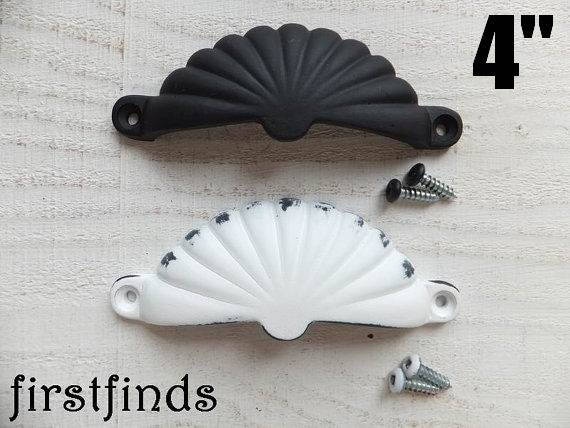
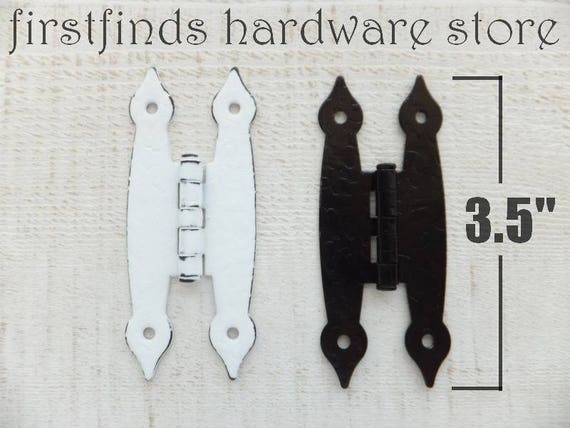
Stop in to see what's new in shabby chic white hardware available at firstfinds.
 
There are over 1000 pieces of used hardware to choose from


***********************************************************


Pin It Now!

GENEROSITY, HARD WORK, and PROVENCE


You hear the stories of ppl donating time or money to a good cause and the perception is they will get it back two fold. Pay it forward is what we call it these days, and this is my story of paying it forward and my perception of getting it back.


Pin It Now!

FURNITURE MAKE OVERS - before and afters 2


Here are some BEFORE and AFTER photos from the furniture makeover weekend I haven't gotten
 around to showing yet. This event offered a place to work, access to a skilled professional (that's me)
 and like minded women to meet and share ideas with. I had a wonderful time meet with
 these different women and was honoured to work with them on their projects. They also had passed a
 thank you card around the class during the final day for every one to sign. The truth is I got whiff of it
 in advance and thank fully I did cause it's those darn things that will make me tear up when you
 catch me off guard. Please enjoy these pictures and take away some ideas and inspiration of what
 you can do. I'll start with this short dresser that was already converted into a blanket box. The drawer
faces were fixed in place and the top was hinged. Now there is a great idea!


*************************
 

Pin It Now!

RED DRESSER & TIPS FOR DISTRESSING - annie sloan primer red


This photo has been floating  around in my files for a long time. It's in with the
"I want to do that some day"
pictures. Well the day has
come and I am here to share
my creation.


Pin It Now!

MID-CENTURY, DANISH MODERN, & RETRO FURNITURE


Every now and then I come across a fun mid-century piece
of furniture that needs a rescue.

This time it was a 4 drawer chest, the exterior teak
veneer was very weathered, stained, and dried out.


I removed the drawers and sprayed the cabinet
with a flat white enamel to block the stains.


I then sprayed the exterior with a creamy white
Annie Sloan Chalk Paint.


I finished it up by dark waxing the drawers and clear
waxed the body to get that soft velvety feel I adore so much.


There is something regal about mid-century furniture
with its simple shapes, clean lines, and unique designs.


Another familiar look of these pieces are the tapered
and angular legs they have.


http://4theloveofwood.blogspot.ca/2013/02/paint-bleeding-midcentury-table.html


 Like this sweeping long dresser pictured below
many of the pieces have handles built into the design.

http://4theloveofwood.blogspot.ca/2011/08/what-is-mdf-midcentury-tv-console.html


http://4theloveofwood.blogspot.ca/2012/08/just-quicky-spanish-console.html

I like the combination of a beautiful bone white paired
with the walnut finish on mid-century pieces.

It easily enhances the original
design, shape, and beauty of the furniture. 


***********************************

Here are some unique hardware pieces available at


Pin It Now!

FURNITURE MAKE OVERS - behind the scenes


All these photos are in progress shoots from my Furniture Makeover Weekend.
 
 
The idea for a furniture makeover weekend started 8 months earlier. I believe it also started much
smaller but since we would have to travel to the location I suppose the coordinators figured to get the
 most out of it while we were there. Lots of projects can be finished in a day but the idea was for
everyone to learn from all the different projects though out the weekend not just their own.

 
I've taught class before and I've managed 20 staff but you just never know what you are in for the
 first time you do anything big. As the chosen weekend got closer I found myself pretty calm,
and eager to take on the challenge. I got to go shopping for supplies in the last week and get
 everything packed. I still didn't know what every project was so I had to pack in anticipation.
Once upon a time I was a Girl Guide so I am always prepared.

 
We arrived early Saturday morning and met the ladies from LNT group. There wasn't much time to
met and greet, we had to find a sink to set up the paint mixing and figure out the area to spray
outdoors. My tool boxes would also have to found their way to the second floor where we were setting up. Long industrial tables circled the room in preparation for all the students to work on.

 
Before I knew it students were arriving and projects were appearing on the tables.
THE CONSULTATION ... 18 of them!
I had to talk with each person to find out what they wanted out of their furniture piece.
Repairs, additions, color, and finish, some projects evolved right there in the 2 hours, but I had to move along to get everyone focused and working.

 
I recall asking a group of ladies at the sink "what time is it" the response was "10 to 12
almost lunch". My reaction "is that it" made them laugh. Well at least it was lunch time!
I was in the Twilight Zone, time meant nothing to me as I ran from here to there seeing each
anxious smile wanting my attention. I would get half way through a leg install and be off again
down stairs to mix paint, which was on my way to saw the lumber I needed to finish the leg install.
 
 
By early afternoon on day two I started to notice things slowing down and coming to a finish, I could stop and talk with a student for a few minutes, I could pick up a rag and help them buff their finish, we were standing pieces up and admiring them as they were done. That was the goal and we did it! 


Pin It Now!

Email your Questions or Comments

Name

Email *

Message *

POPULAR ARTICLES

Your first stop for vintage hardware