
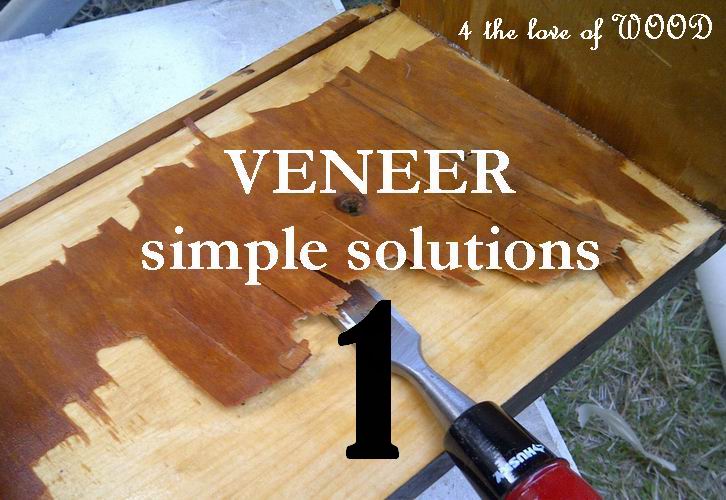
Here's the first article of the VENEER series.
*links to all articles are listed at the end of this article*
This article explains how to edge glue loose veneer.
With vintage furniture, veneer refers to thin slices of quality
wood, usually thinner than 1/8 inch, that are glued onto
panels of a lesser grade woods. Veneering is an ancient art,
dating back to the Egyptians who used veneers on their
furniture and sarcophagi. The first step in any DIY veneer
repair is to establish how bad the damage is and what route
to take. This 4 part series will cover edge gluing, gluing
bubbled veneer down, and fill missing areas on painted
furniture. The final article will detail the easy method
to remove veneer.

Many pieces of vintage veneered furniture have
some edge lifting, usually along the bottom.
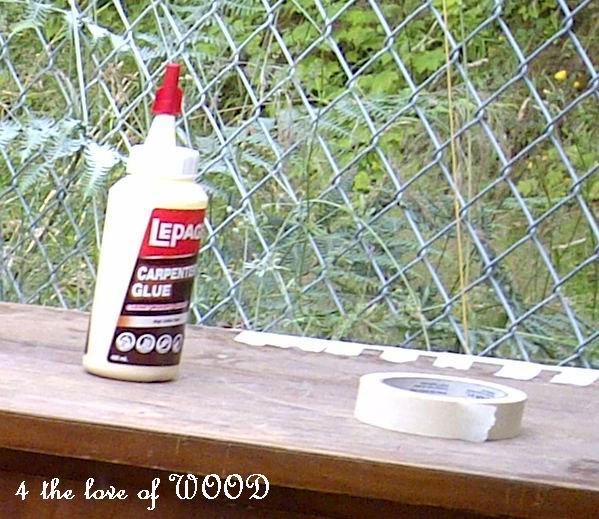
It's a simple matter of using wood glue to secure the veneer
back into place and using masking tape to hold it down while
it dries.

Use gravity!
Turn your piece of furniture over to get
the glue run down in behind the lifting veneer.
*************************************************
the glue run down in behind the lifting veneer.
*************************************************

I use a wet sponge to clean up any access glue before taping
the edges. Lay your tape on the veneered surface first and
pull it tight over the edge.
the edges. Lay your tape on the veneered surface first and
pull it tight over the edge.

Your drying time will vary with climate and temperature,
but a decent wait time would be 4 hours under normal
circumstances.
but a decent wait time would be 4 hours under normal
circumstances.
Thanks for following along with my VENEER series
Article #1 edge gluing loose veneer
Article #2 filling in missing veneer
Article #3 bubbled veneer
Article #4 removing veneer


