I used 3 different colors of AS paint to create
the look I wanted to achieve on my apothecary drawers.
 |
| INSPIRATION PHOTO |
This is the photo that inspired me to start painting one night.
Before I start please bare in mind turquoise does not
photograph well and I have tried to make the color
information as clear as possible.

The first layer of paint was brushed on, rough and quick.
It was a custom mix of Annie Sloan Chalk Paint similar to
Aubusson but not as vibrant blue. If you wanted to try this
yourself Aubusson would work very well.

*******************************************
*******************************************
Here is a look at the three colors I used in the order
I used them from left to right.

The second layer was Old White with a small amount of
Florence mixed in to create the lightest of the colors,
this soft vintage minty color. I also watered it down and again
brushed it on quickly and not always doing full coverage.
Florence mixed in to create the lightest of the colors,
this soft vintage minty color. I also watered it down and again
brushed it on quickly and not always doing full coverage.

You can see below how the first layer of paint is peaking through.

The third color was the strongest of all the colors but was
only used sparingly. I mixed a small amount of Old White
into Florence just to take the edge off the intensity of the
Florence.
Below you can see where I dry brushed that color in sparse
patches all over the cabinet. At this point the project looked
it's worse but the final step would bring it all together.

***************************************************************
The last thing to do was to blend the colors together and I did
that by hand sanding with 180 grit sandpaper over the entire
paint finish.
BEFORE AFTER
 |
| DRY PAINT SANDED PAINT |
TIP:
Always sand in the direction of the wood grain runs
and hit every edge with the paper.
****************************************
Take a look at where you can see the three colors on the
finished piece and how the original wood shows through.

I did the whole project in less than 24 hours
and I did not wax it.

To see another furniture piece that was

Above is a close up of the drawer I built from scrapes
** MISSING DRAWERS **
Below is the alcove created with a board cut to fit the bottom


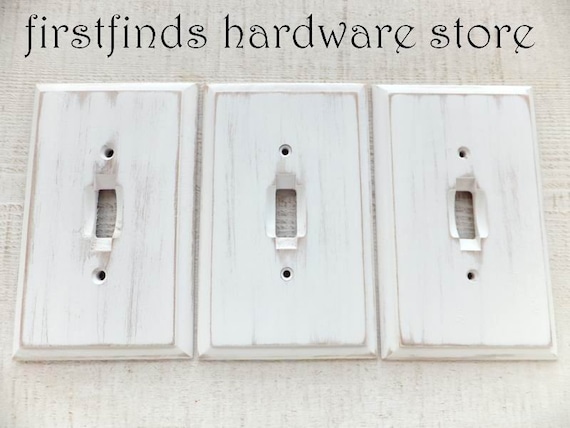
********************************************
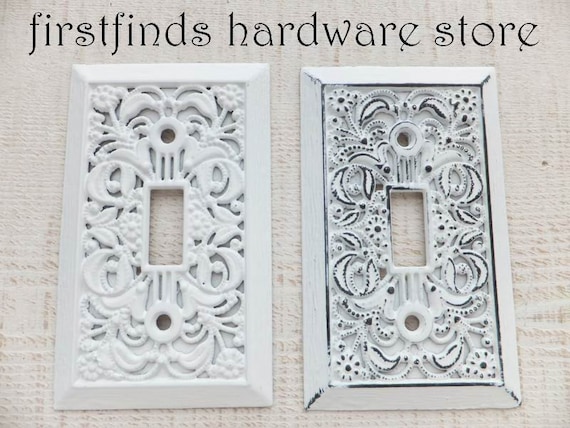
vintage hardware
CLICK EACH PHOTO FOR MORE INFORMATION

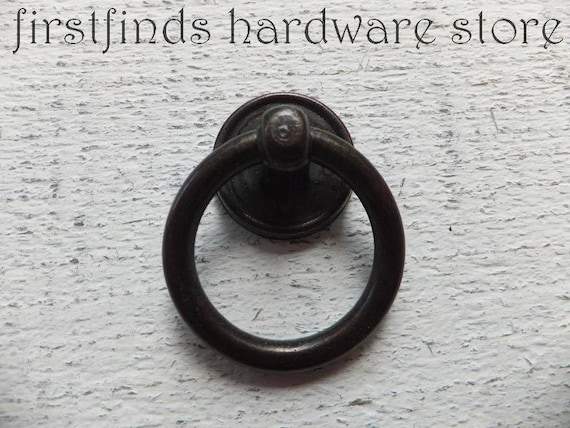

CLICK EACH PHOTO FOR MORE INFORMATION