Last week we shared the interior
makeover BEFORE &
AFTER photos of our motor
home. Many of you have asked
for more so let me try to tell
you some of the highlights.

First let me say I had one month for the entire makeover and no time to take photos before leaving. That means the AFTER photos were taken after all the wear and tear from our trip across Canada and back. She held up very well!

Let me first talk about the couch bed.
I found a single quilted bed cover for the couch on the left. It is
called a jackknife sofa, it pulls out into a bed. The cover lays
perfectly flat when it is open. I also covered the chairs in faux fur
throws from Home Sense. They do dual purpose as bedding for the
sofa or just to wrap around you on a rainy afternoon. I like the
luxury of them at a good price and they wash and dry easily.

Now to the back and the location of our master bedroom ....
The back window had started to leak some time ago and caused part of the wall paper to bubble on the left side. My solution was to pull off any bubbling paper and cover the wall in something new.
Of course the first thing to do was find the leak and repair it.
I had to silicone the top of the window seal on the outside,
it is all fixed now!

We found plastic faux ceiling tiles at a lumber store and I use a
PL glue from the same store to adhere them to the wall. It took
3 sheets of 12" x 24" pieces and 3 tubes of PL glue.
They cut with a knife or scissors and are easy to line up to each
other. These photos were taken after I painted them in ASCP Old
White and clear coated them, they came flat white from the store.


Here is a look at the bedroom's window curtains and blinds
before I made them over


My goal was to try and use what I had and save money for bigger
things. I painted the shades with ASCP, no wax or anything else.
I changed the trim with something left over from another project.
I wanted a way to secure the blinds down for when we were
sleeping so I installed ring pulls on the bottom of the blinds and
installed shallow hooks on the wall so that they would hook onto.


Last week I hinted that we had a solution to making our 2 small
beds into one big one, here is a video of George explaining how.
Click on the full screen option in the lower right corner.

And here is our TV that we snuggle up and watch together from
that awesome big bed. I learnt while trying this install the TV needs
to be the lightest weight TV I could find.
Thanks for all the interest in this huge project of ours.
Next week I will try to share more details with you of
the painting or the shower or the bathroom or the kitchen
you just never know.

************************************************
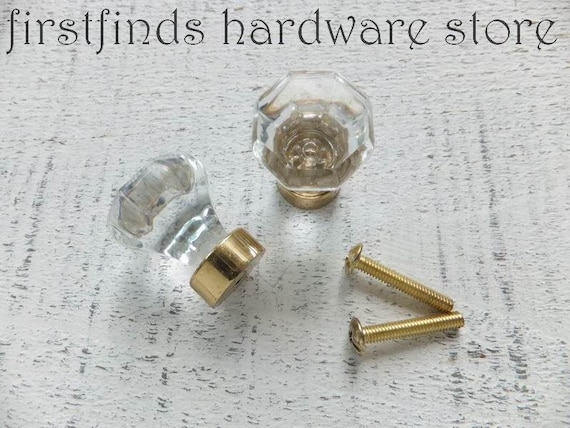
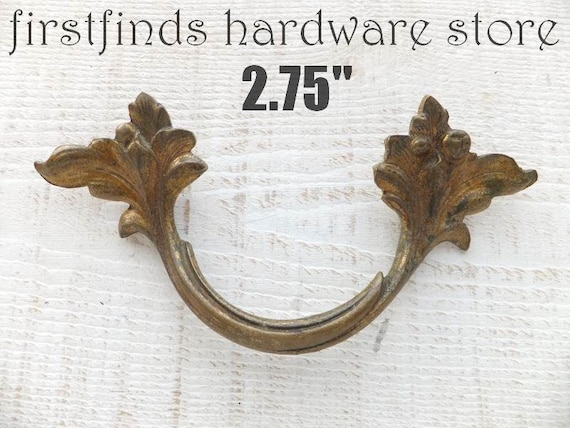
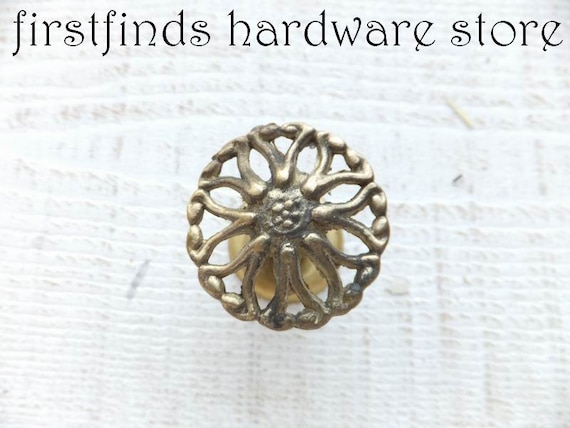
Stop into FIRSTFINDS HARDWARE STORE to see
if we have any vintage hardware for your next project.
CLICK EACH PHOTO FOR MORE INFORMATION
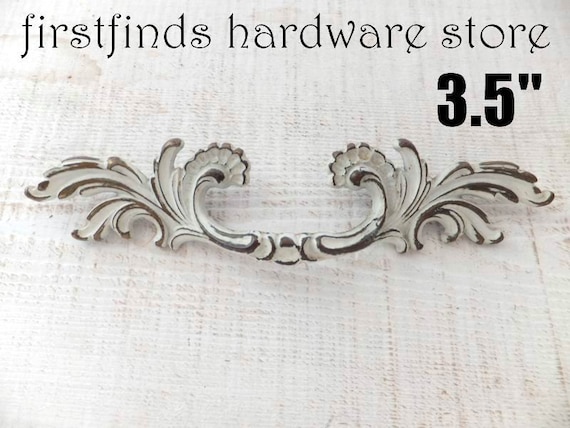
CLICK EACH PHOTO FOR MORE INFORMATION