WORK WITH WHAT YOU HAVE.
During the motor home bathroom reno
I used the original sink in our RV as a feature

Here is a blast from the past of what the bathroom
looked like when we first got it. I can't tell you how
unhappy I was to see carpet around the toilet.

First thing I did was to remove the things on the walls,
including the towel hangers and medicine cabinet.
Then I picked out new wallpaper and re-did the walls.
I added this tall two door cupboard and an ornate mirror.

The mirror is very light weight because the frame is mostly
plastic. It is screwed through the front into wall studs.

TIP:
Inside the cabinet I made shelf holders so things don't fall
out after traveling. They are made with thick cardboard
and covered with the wallpaper. The sides are folded at a
right angle & adhered to the cabinet with double sided tape.


Over the sink and counter I hung a mirror and some wire
storage baskets. The baskets were from a kitchen store
and came in a silver finish. I painted them gold to go with
the theme of the bathroom.

Now to the toilet or more importantly ....
REMOVING THE CARPET
There are no photos of that disgusting job,
we go straight to the nice new plywood I laid and
the box I built to hide the utilities.

The vinyl flooring I chose is from the lumber store.
It is self adhesive tile that you can buy per piece.
The adhesive is not strong enough for installing vertically
like I did on the sides so I used a caulk to adhere it.
It cuts with a sharp blade, score the back and you can bend
it for slight angles. Like I did for the wheel-well that you can
just see under the bottom middle of the cabinet.

*********************************************


So the first thing to stay was the plastic toilet, it works fine
and looks fine and I gave it a good cleaning with the hose
when it was out. The second piece I kept in the tiny room is
the gold counter/sink. I actually like it and decided early that
I would use it as the jumping off point for the decor and
color scheme.

TIP:
I stuck the basket to the counter with sticky Velcro for
easy and quick clean up before traveling. Anything left on the
counter, like the clock or a toothbrush can be put into the
basket before we start driving so everything is secure.

And finally I created a mini chandelier for the bathroom.
Most of the plastic ceiling light covers we have in this rig
won't stay up. While driving they constantly fall on the floor.
So instead of fighting with them I embraced the problem
and created this little beauty.

Thanks for stopping in and I hope I have inspired
an RV makeover in your future.
To see more of our RV.....
Living room: https://bit.ly/2Krj7T4
Bedroom: https://bit.ly/2Oh3ZGC
Kitchen: https://bit.ly/2JyjpHi
********************************************
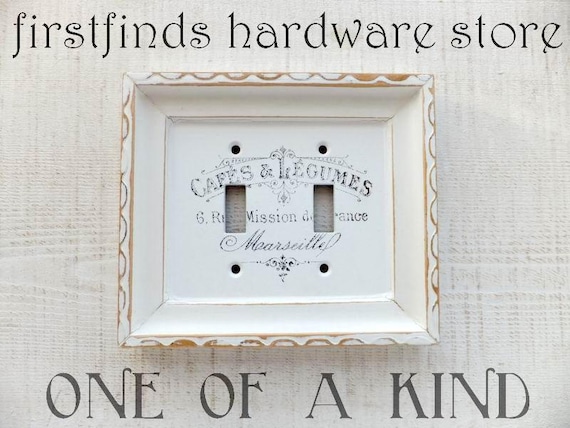
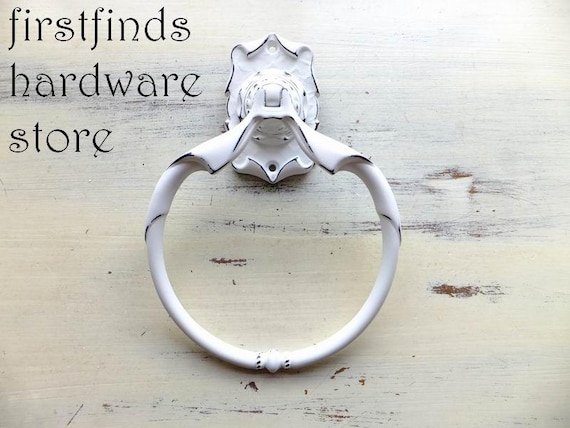
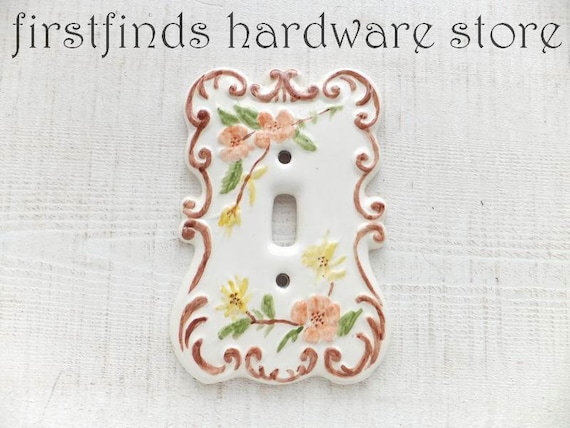
Stop into FIRSTFINDS HARDWARE STORE to see
if we have any vintage hardware for your next project.
CLICK EACH PHOTO FOR MORE INFORMATION
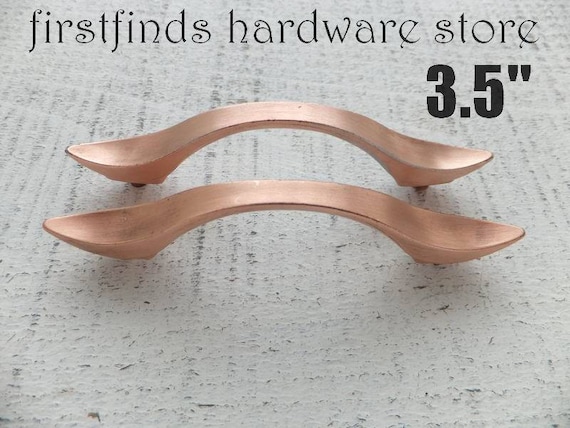
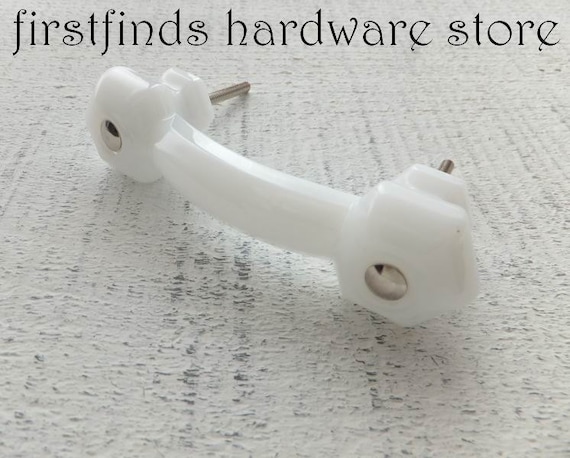
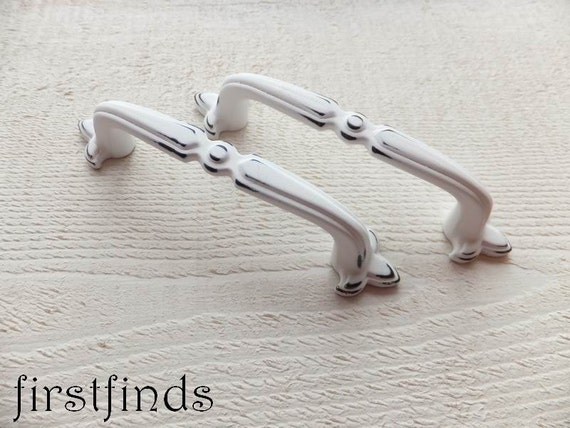
CLICK EACH PHOTO FOR MORE INFORMATION