major repairs. I photographed most of it to share how I fixed each problem.
I'm hoping it can help a few of you to
take on a repair or two of your own.

BROKEN DRAWER JOINTS
Over the years drawers give out and many get repaired
quickly to get on with life. Like this drawer BELOW a lot of
wood gets chipped and broken away and a normal repair
just won't hold it together anymore.

Here is a closer look at some of the damage.


MY FIX:
I got all the nails out and clean the joints of any old glue and
debris. This takes patience and every tool in the box. The
slower I went the less damage I would need to repair.
All these nails BELOW were from attempts to fix this buffet
in the past. THAT'S A LOT!

*****************************************
I took several of the drawers apart because it makes it easier
to rebuild them. I glued and clamped the joints together one
at a time. Where there was missing wood I used some
masking tape as a form to hold the glue from leaking out. And
I used gravity to get the glue all the way through the joints by
turning the drawers on end and pouring the glue from above.


For the final repair I waited until the next day for the joints to
set up and then I glued a 1/2 inch x 1/2 inch piece of wood
securely in each corner, seen below. This really helps to
make sure all that missing and chipped out wood is not going
to be an issue any more. I clean up all my glue mess with
a damp kitchen sponge before it dried. You can also use a metal "L" bracket but be ware of splitting wood when installing.


AND HERE SHE IS ALL FINISHED

**************************************************************
The other repairs can be found at these links:
LEG SUPPORTS: CLICK HERE
SAGGY DRAWER BOTTOMS: CLICK HERE
**************************************************************
*********************************
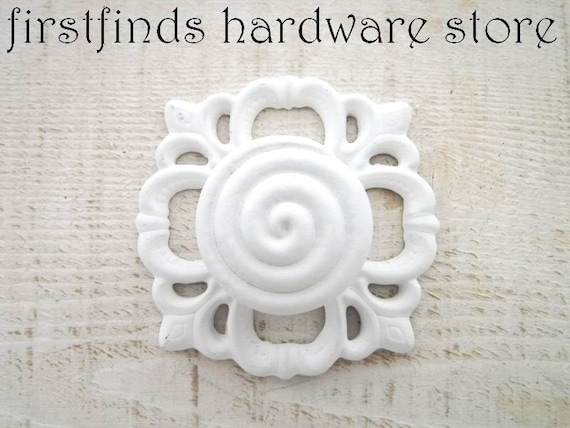
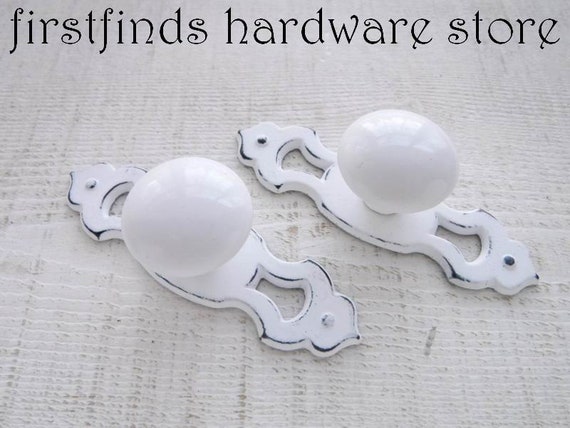
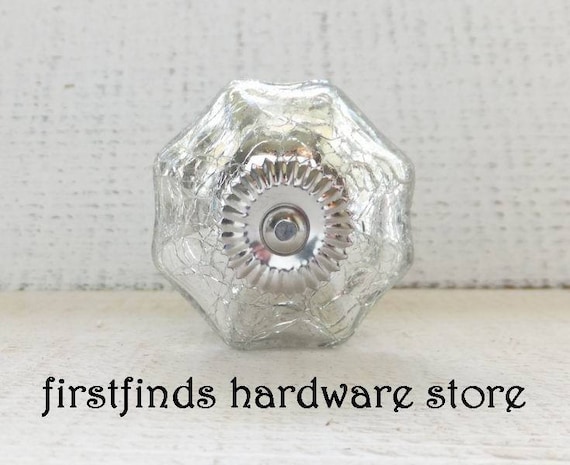
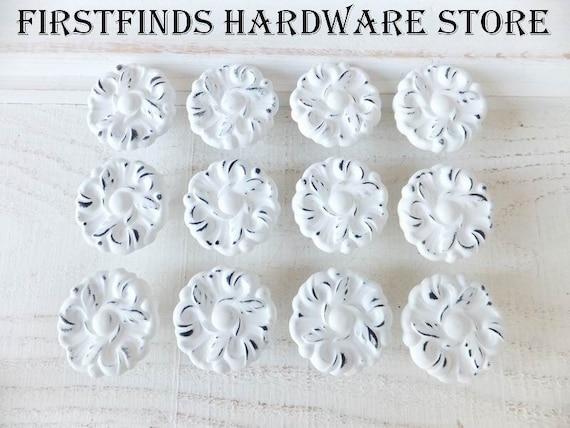
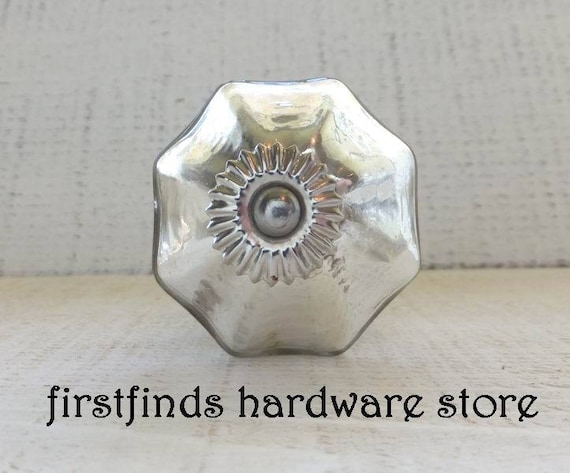
Stop into FIRSTFINDS HARDWARE STORE to see
if we have any shabby chic hardware for your next project.
CLICK EACH PHOTO FOR MORE INFORMATION
CLICK EACH PHOTO FOR MORE INFORMATION