With only 5 cuts and 10 folds you can do this ...
 |
| BEFORE AFTER
Part 1 shows you how to cut and fold,
Part 2 will teach you a unique way to adhere it.
|

Start with your drawer upside down.

Cut your paper long enough to cover the bottom and sides - Cut 1

Next fold the sides tight to the drawer sides - Fold 1 & 2

Turn your drawer over and lay your folded paper inside.

Decide how far up the front and back you want your paper and crease it - Fold 3 & 4

Remove the paper from the drawer and cut the 4 corners,
One straight cut to the front and back crease you just made.


You can see below the cuts that make your corners - Cut 2,3,4,5
 |
| Note: The paper is curling showing you a triangle, it is just straight cuts. |
Paper back in the drawer fold the 4 corner flaps down - Fold 5,6,7,8

Lift up the 2 side panels.


Fold over the excess paper hanging over the top of both side - Folds 9 & 10


There is your pretty drawer liner.

Part two will show you a unique way of
adhering non pasted wallpaper.

The second half of this tutorial can be found here
I purchased this wallpaper from D. Marie Interiors here
It's call Antique Floral Hearts Victorian Heirloom
*************************************************
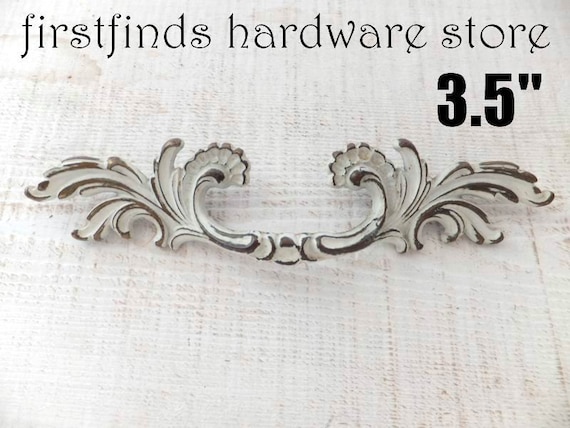
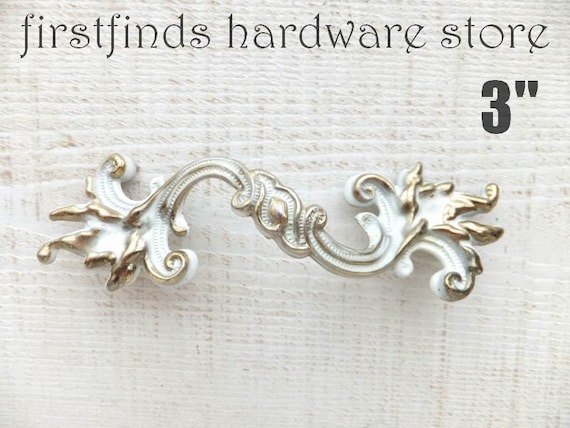
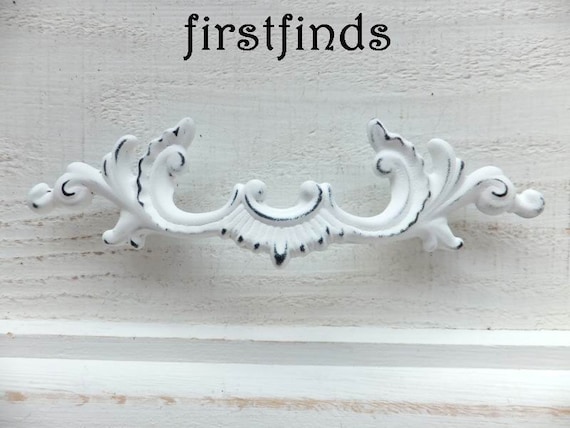
Stop into FIRSTFINDS HARDWARE STORE to see
if we have any vintage hardware for your next project.
CLICK EACH PHOTO FOR MORE INFORMATION
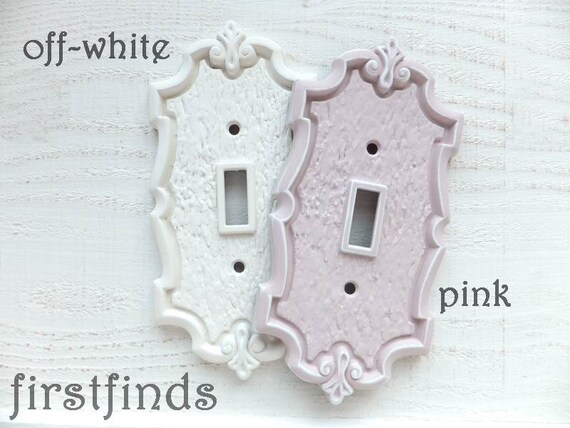
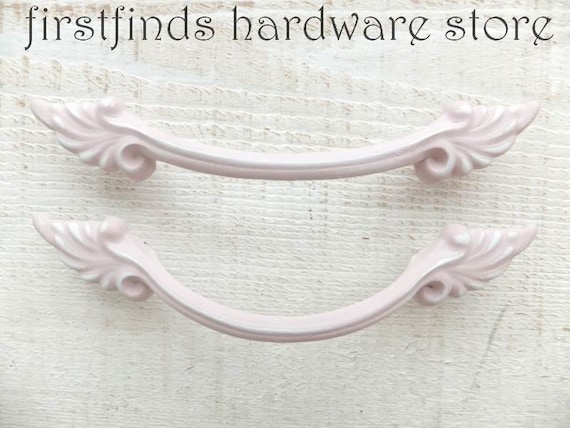
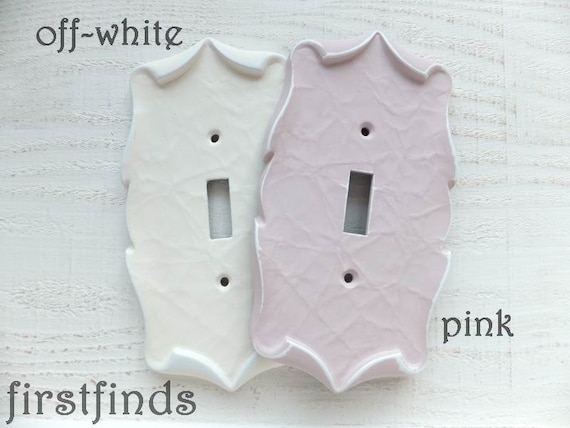
CLICK EACH PHOTO FOR MORE INFORMATION