

This is my DIY map wall art I built from discarded
items and also PART TWO of the convertible
workstation created for Janome Canada in their
MAKER's SPACE series. For those who
have not been following these projects, I was
challenged to re-purpose several second hand
items to use in a makers space and this project
can be made for decoration or for function.
challenged to re-purpose several second hand
items to use in a makers space and this project
can be made for decoration or for function.

It hangs on the wall easily and safely with "D" hangers
screwed into the back.
screwed into the back.


I built this wall art using an old hollow core door.
How many of you have replaced those boring hall way
doors and would like a fun way to re-purpose them?
First I cut the door almost in half using my jigsaw. This leaves
the hollow part showing on the cut edge so I trimmed
the open edge with a piece of scrap 1" x 1/2" lumber.
I attached it with some glue and screws.


I filled all the blemishes and seams with wood filler
before painting the door in a soft cream color.


Once that was dry it was time to apply the art.
I used a map I found in an old book of mine. No one really
even knew it was there just something folded up as an extra
in the book, not expensive or fancy but it sure looks great now.
IDEA:
You could use any poster type image. You could even print
out an image from your home computer across several sheets
of regular 8 x 11 paper, and piece them together as your art.

I adhered and added a protective coating to the map with Mod Podge

SUPPLIES:
Mod Podge glue, a paint brush, and a container for the glue
I watered down the mod podge in a measuring cup so it
would spread easier. You should always move quickly when
mod podging. Don't skimp out on the adhesive layer and
work in small sections. After mine was glued down and dry I
started layering mod podge on top to give it a protective top
coat. I prefer doing multiple thin layers that dry quickly as
apposed to thick ones that don't dry.

************************************************************

My wall art was being made for the convertible workstation
surface, so I added a tape measure to the edge using gold
thumb tacks placed strategically over the "0". It is not seen
when on the wall but is a great help when working.
surface, so I added a tape measure to the edge using gold
thumb tacks placed strategically over the "0". It is not seen
when on the wall but is a great help when working.

************************************************************

Another helpful aid would be to use a cutting mat (below left)
on your workstation, it will protect your surface the best.
It can also be stored hidden tuck in behind the cabinets (below right)


Do you have a hollow core door you
have been inspired to re-purpose?
LINKS:
PART ONE on building and painting the
base cabinets can be found HERE.
********************************************
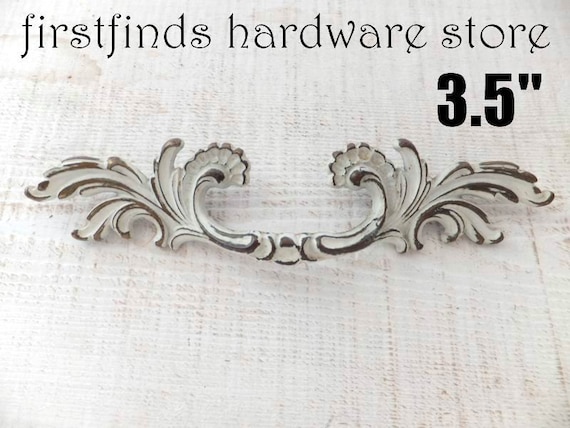
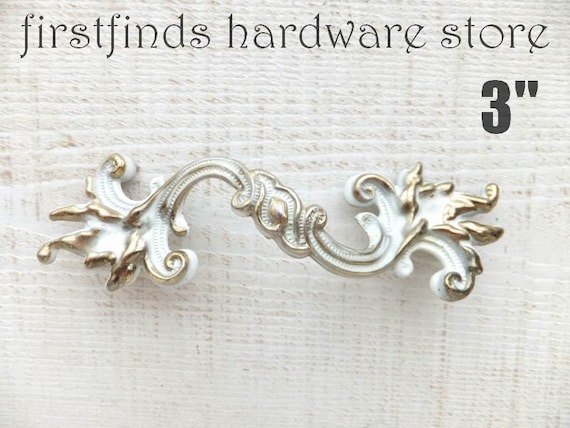
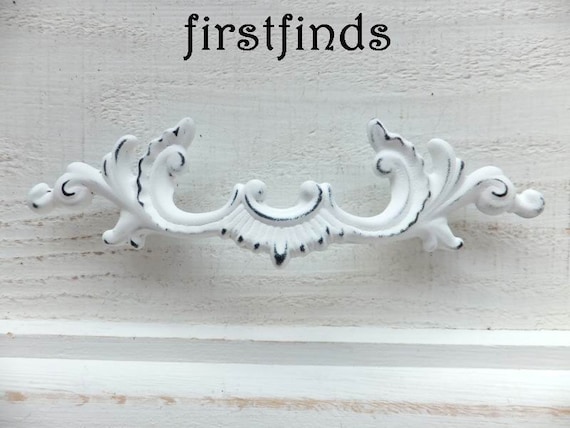
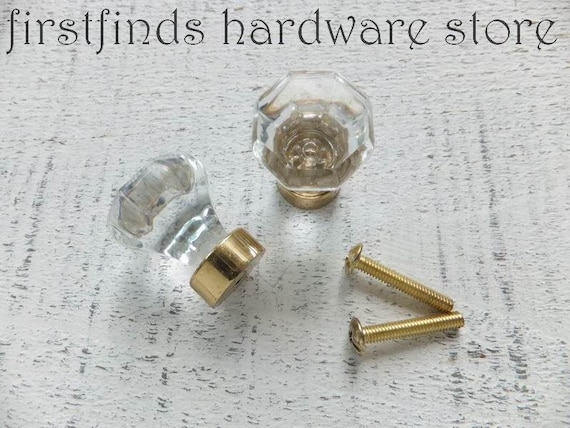
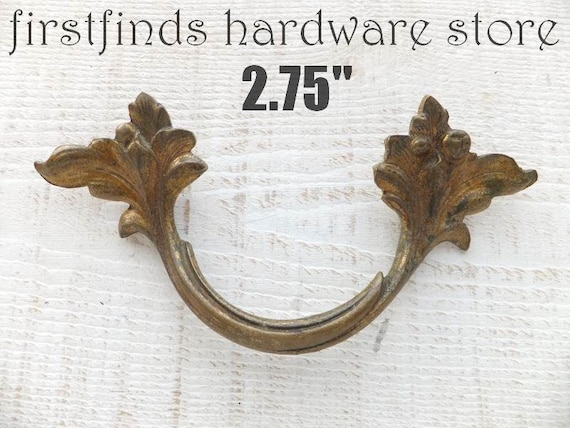
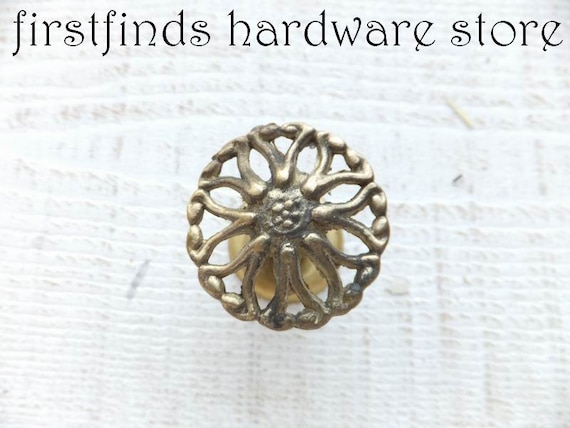
Stop into FIRSTFINDS HARDWARE STORE to see
if we have any vintage hardware for your next project.
CLICK EACH PHOTO FOR MORE INFORMATION
CLICK EACH PHOTO FOR MORE INFORMATION


