Showing posts with label wipe on poly. Show all posts

ANTIQUE WOOD CUPBOARD - styled and decorated


I wanted to share with you a view of the antique cupboard I saved in it's forever home.
Pin It Now!

PRESERVING AN ANTIQUE WOOD CABINET


I had the pleasure of preserving an antique cabinet. She was really pretty from the outside, super old, hand made once upon a time and had lots of ware. The inside was another story, rotting and falling apart were just a few of her issues. It had been a rodent retreat for some time. They chewed large holes in the wood and did their business all over the poor girl. There were also multiple repairs done over the years leaving a large selection of different nails to be dealt with. The wood had shrunk so much there were ....
Pin It Now!

APPLYING WIPE ON POLY - dark stained desk top


My go to product for a hard durable finish on a top surface is ...

Pin It Now!

HOW TO WIPE ON POLY - tutorial


My go to product for a hard durable finish on a top surface is ...

Pin It Now!

THE INQUISITOR, HER ASSISTANT, AND THE UPHOLSTER'S WIFE - chocolate slab coffee table

The first project the workshop ladies tackled was to learn how I
use stain over my signature white paint.


and then how to finish the wood top with the same stain.

The table was finished in a typical medium wood color with a glossy finish.
(NO BEFORE PHOTO)

I started with showing them how to degloss the wood legs and apron to accept
primer and eventually paint.


The questions flowed easily for everyone especially Danielle.
Her good friend Nikki was so eager to get supplies at the end of the day
she was ready to drive off and leave Danielle behind.


We went over mixing and straining primer and paint thru for the sprayer.


Everyone got a chance to hold the spray gun and give it a try.


My experience running crews of 20 workers all the way down to a single
assistant is quite extensive however I've never come across a group that
meshed so quickly and used each other so supportively.


They got to feel how wax can help move the stain around once it starts to set.
Kelley got right in where I left off doing a fabulous job.


A few ladies even tried the belt sander when we first started to strip the table top.


We still had to get to a drawer repair, changing out hardware, including spray painting it
and using wood filler so we had to keep moving on so I would get to finish this coffee table later.


That evening I sanded the edge of the top and stained it.


I started applying the wipe on poly the next day.


Sanding with 400 grit between many many coats.


This is how it look when you sand with 400 grit.
A very white chalky dust.


Once I got the thickness I wanted one last sanding before waxing.
The final coat of wax adds a soft warm feel to the finish.


Pin It Now!

MORE FURNITURE 4 SIS - regency dining table


There was nothing really nasty about the regnecy table we found a few weeks back,
so no before photo was taken.


I did have to glue and clamp some parts of the base that had loosened over time,


and replace some of the nails holding the decorative metal claw feet in place.


The table top was almost void of the original finish so hand sanding just took time. 


I restained the top and both pedestals with my new favorite stain, Varathane's KONA.


This color called KONA is so rich and dark looking I can't get enough of it.


Several coats of wipe on poly were applied before a final waxing to soften the feel.

AND FINALLY ....

I thought I would share a pic of some crazy little worker bees I had visit me yesterday.


The workshop we had here yesterday was soooo much fun and the diversity of ladies made
conversation amazing.
I know everyone wants to see what they worked on and hear them dish all about me
but I have to get some things finished and sort out pics first. 

SO STAY TUNED ...
********************************************

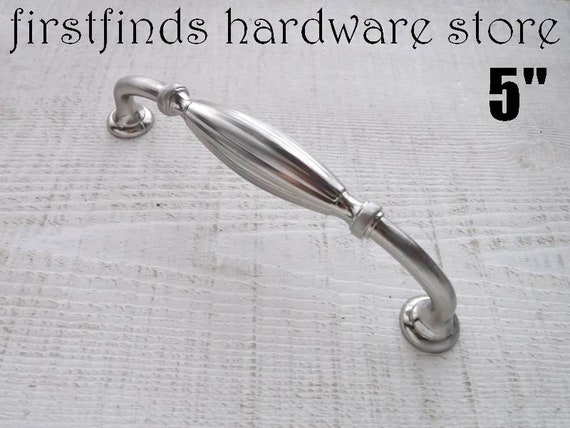
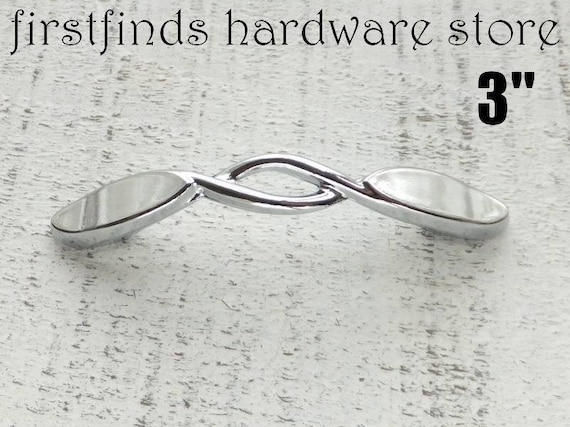
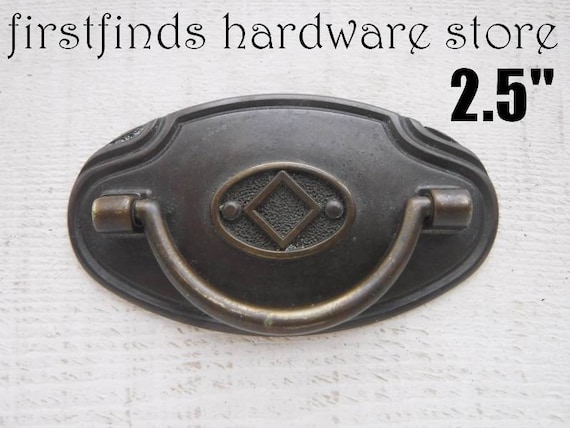
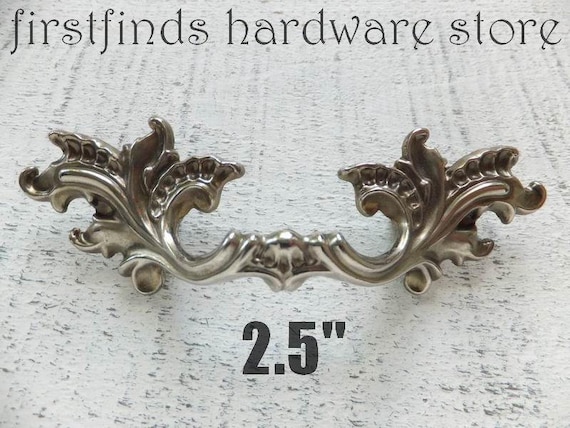
Stop into FIRSTFINDS HARDWARE STORE to see
if we have any vintage hardware for your next project.

   
CLICK EACH PHOTO FOR MORE INFORMATION
    
CLICK EACH PHOTO FOR MORE INFORMATION


Pin It Now!

RESIZING A BEDFRAME - antiqued black bed


This bed frame was originally an odd size, maybe something from Goldilocks and the three bears. Too wide to be a queen yet too short to be a king.

Pin It Now!

Email your Questions or Comments

Name

Email *

Message *

POPULAR ARTICLES

Your first stop for vintage hardware