Showing posts with label BEDS. Show all posts

VINTAGE HEADBOARD WINDOW - securing it to the wall


When we moved our bed onto an open wall I knew I had to find a great focal point for above that I was going to love.  Little did I know so many others were going to like it too and ask so many questions  about it.


Pin It Now!

A STORAGE BOX SPRING REVIEW


I've mentioned my storage box spring a few times over the years and every time I do I get asked more questions about it so I figured it was time to offer my thoughts on owning one. The short and sweet answer is ... I love it! Best furniture purchase I have ever made!
Pin It Now!

UPDATING A VINTAGE BED FRAME


Summer is bed season, or more clearly explained .... summer is when I have space to build beds.
Pin It Now!

BETTY BLUE BED


The Betty Blue Bed Frame

Here is her before and after ...

She was one of those discarded mid-century single beds we all see.


I added some decorative drawer fronts I had,


and lifted her spirits with some ornate chair backs and some legs. 


She is painted in a very soft blue and highlighted with antique white accents.


***********************************
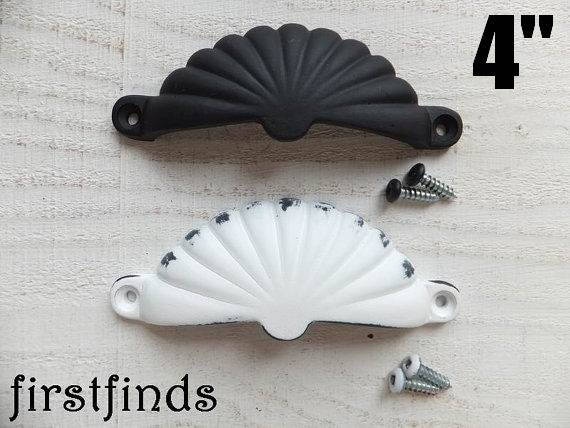
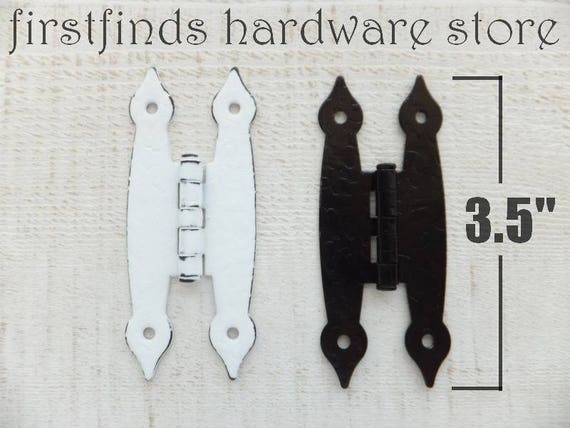
Here are some unique hardware pieces available at


Pin It Now!

PART II A LEG UP - adding legs to furniture


In an earlier article I shared several tips to adding legs to furniture projects, now I am share some of the different styles and types of legs I have used.


Pin It Now!

TWINS - a pair of single beds


I found this set of bunk beds at a yard sale this past weekend.


While we were talking price with the owner,
daddy called my cell to let me know the cost of my motorbike repair.

I have a trials bike but only get to take it out about once a year.


This year's trip is coming up fast, but I'm unsure if I can get away or not.
Needless to say the bike has to be ready regardless, which means a new part.


So while getting the price from daddy, the price for these beds was still up in the air.
I pulled some cash out of my wallet (what I was willing to pay) and handed it to George
to finish the negotiations.

Well before I was off the phone the beds were being loaded into the van.


Now the posts connecters were either missing or broken and only one post finial remained
so they couldn't easily be used as bunkbeds anymore.


I wish I had a room to stage these in, I could have done them up wonderfully. 


There were a few cross bars but the supports on the rails were installed,
well we'll just say *badly*


It took a few hours to fix the supports and cut more cross bars, as well as a few other fixes.

Once they were fixed it was just a matter of deglossing, priming, and finally painting.

This pretty pair is currently listed on the AVAILABLE page.

Pin It Now!

A QUEEN WITH BUN FEET - white antiqued bedframe


This bed need some interested wood working repairs. Let me share with you what I did ...

Pin It Now!

RESIZING A BEDFRAME - antiqued black bed


This bed frame was originally an odd size, maybe something from Goldilocks and the three bears. Too wide to be a queen yet too short to be a king.

Pin It Now!

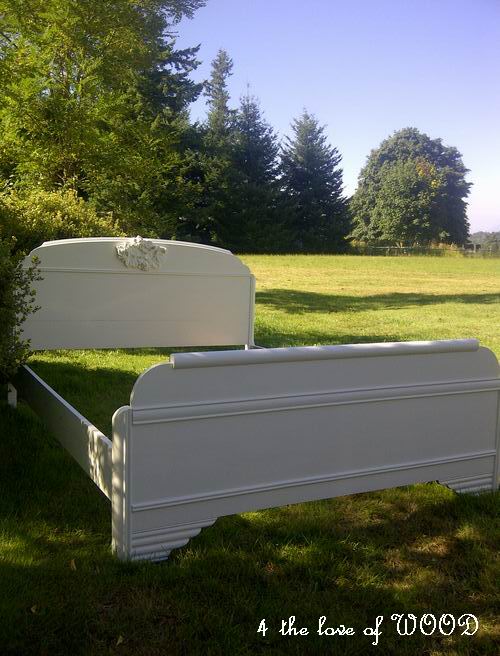
ROSE BED WITH A VENEER TIP - white vintage double bedframe


The veneer on the rails were mostly gone or ready to simply peel off,
however there was a bit that still needed my extra special removal technique.
drum roll plz ....... WATER & a bit of patience


Most glue used in the past to adhere veneers to furniture are water soluble there fore will soften once
water has penetrated into it. All you need to do is let a damp cloth sit on the veneer for a period of
 time then come along and start peeling it away.
No need for harsh heat, damaging chisels, or needless sanding.


 Below you can see she is almost thru the sanding phase. (rear bed)


A few days of priming, sanding, and painting and she's complete.


Oh silly me did I forget something .....


 The rose applique I used was bought at a second-hand store and stamped with
1974 Miller Studio Inc.
It's a wall hanging made of some kind of fiber glass material
that I had to sand flat on the back side to sit flush with the head board before nailing in place.


Here's a sneak peak at tomorrows post.

SEE YOU THEN.

Sharing at:
Miss Mustard Seed's Creative BlogDomestically Speaking

Pin It Now!

Email your Questions or Comments

Name

Email *

Message *

POPULAR ARTICLES

Your first stop for vintage hardware