gaps between every back board and door frame. So many
spaces between boards in the drawer bottoms you couldn't
put anything in them with out finding stuff slipping through
into the cupboard below. The door hinges were rusted and
seized and I would have to find just the right size screws to
get the doors secured and working again. But enough of the
torment, please have a look at the photos I took along the way.
STEP ONE
deal with the bottom,
this is the part that smelled the worst!
****************************************
STEP TWO
remove the back and rebuild inside,
this is tons of work no one ever gets to see
this is tons of work no one ever gets to see
****************************************
STEP THREE
fix all the drawers and doors,
this is fussy meticulous work you need great patience for,
this is fussy meticulous work you need great patience for,
glad I have some.
****************************************
STEP FOUR
clean and clear coat the whole cabinet,
this part you get to smell some different things, better things.
this part you get to smell some different things, better things.
STEP FIVE
secure the crown and top shelf,
OH the nails, all the teeny tiny nails, many going in and more coming out!
OH the nails, all the teeny tiny nails, many going in and more coming out!
STEP SIX
Smile .... you're done,
this truly is the moment you puff out your chest and be proud
this truly is the moment you puff out your chest and be proud
Realistically there are a lot more little steps involved to
accomplish a project like this, but I have shared the
big ones with you and some humor I hope you'll appreciate.
*******************************************
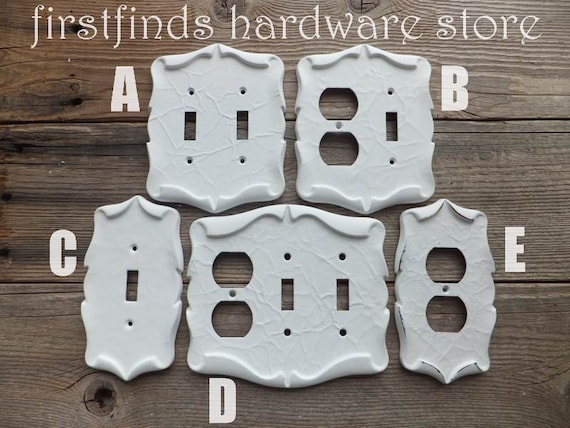
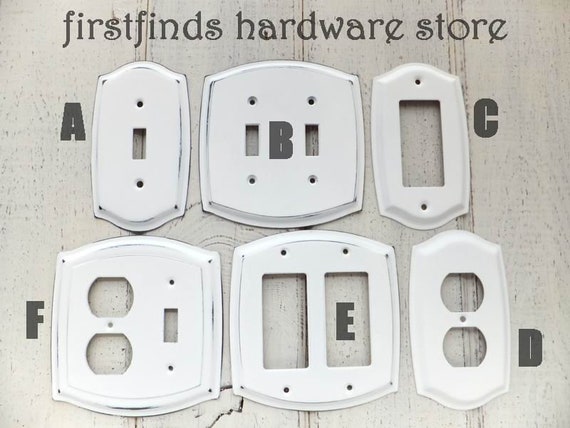
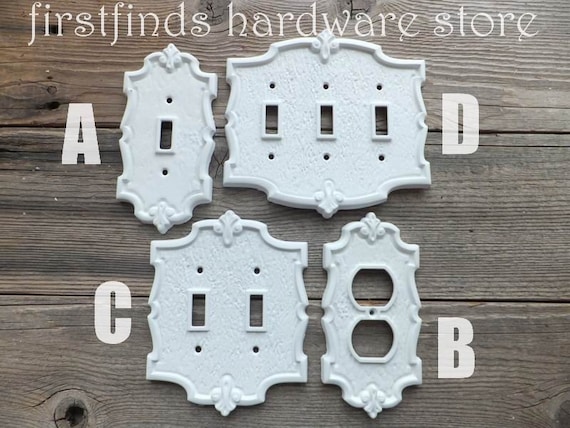
vintage switch plates
*******************************************


