back to them.
BEFORE AFTER
Destined for the landfill they had to be saved.
They had great bones for up-cycling but I would need
some other important pieces to transform them.
I started with new legs and went from there.
TUTORIAL FOR ADDING LEGS - https://bit.ly/2kS9MVT
I chose appliques for the face of the drawers and
appliques for the bottom. The ones on the drawers are
secured with finishing nails but the bottom appliques
were secured very differently.
Between the legs was the perfect space for something special.
****************************************
I used my jigsaw to cut it in half and trim the ends (above)
so each half would fit snug between the legs like you see below.
That thing holding the applique is a clamp.

NEXT ...
I glued each half to a small pieces of wood so they could be attached to the bottom of the cabinet easily. With the extra surface they could now be glued and/or screwed on.

************************************************************************
************************************************************************
They were painted with AS Pure White and waxed with AS
Clear. Then I antiqued them using AS Dark wax.
I usually do most of my distressing before waxing but with
this project I continued to add to the distressing all the way
through the waxing process. There are many layers of old
paint on these cabinet that add to the aged look on the edges
and corners once it is exposed.
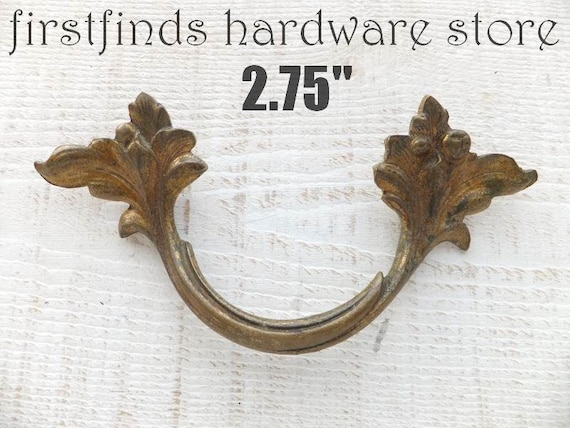
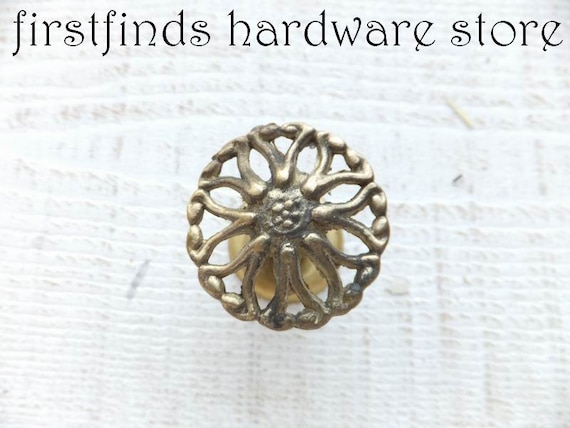
And finally 2 wonderful antique pieces of hardware,
one for each drawer.
********************************************
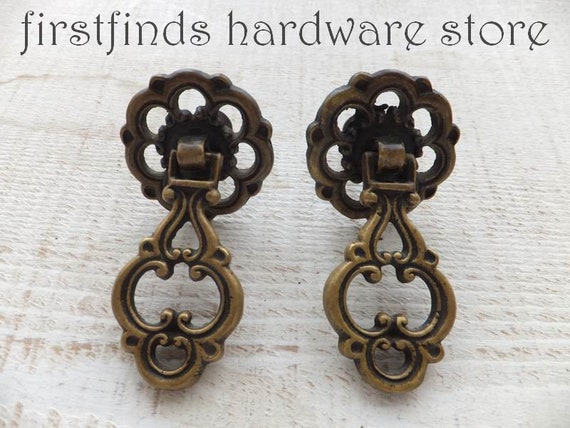
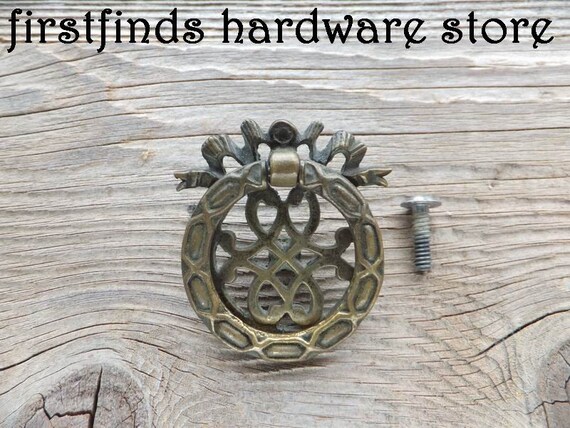
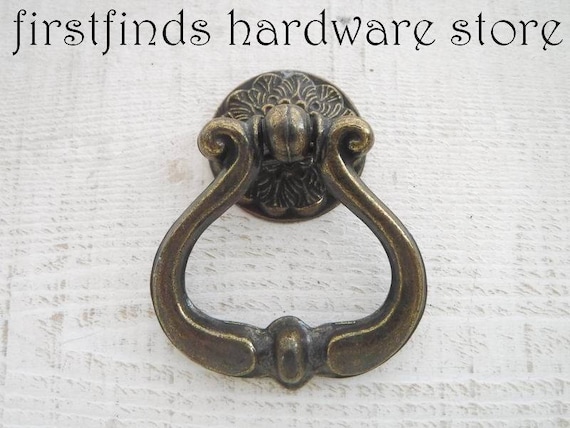
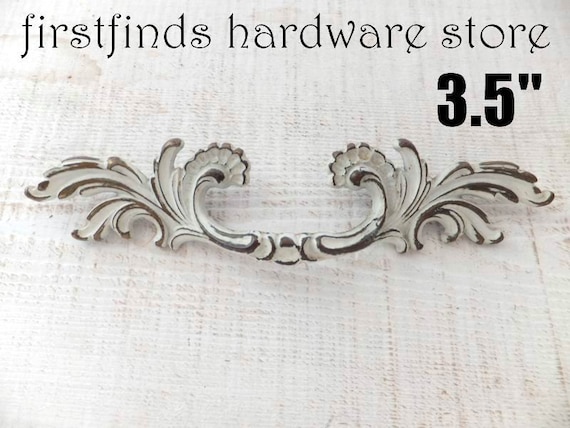
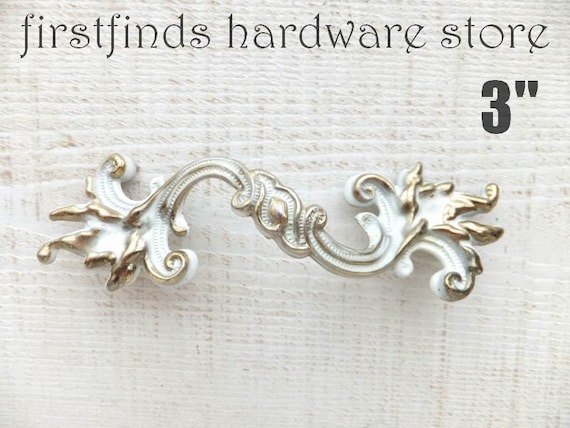
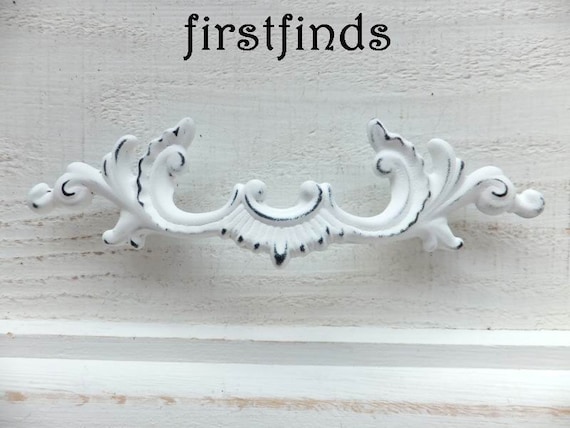
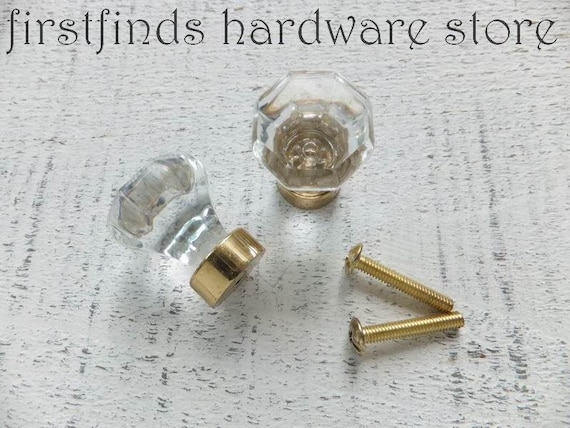
Stop into FIRSTFINDS HARDWARE STORE to see
if we have any vintage hardware for your next project.
CLICK EACH PHOTO FOR MORE INFORMATION
CLICK EACH PHOTO FOR MORE INFORMATION
CLICK EACH PHOTO FOR MORE INFORMATION


