PAINT TUTORIALS - In the last 12 months I set out to photograph several paint projects in great detail to share how they were done. With all those pictures I was able to put together 4 great in depth paint tutorials for others to enjoy.
Showing posts with label stenciled. Show all posts
STENCILING OLD FURNITURE - table makeover
This will definitely help motive one to keep the coffee table clean. This table top is made of MDF but now that it is made-over you would never guess.
A STENCIL, PAINT, DARK WAX, AND NEW LEGS - paris dresser
I made this dresser look
unique by using dark wax
only in certain places. In this
article I have explained how I
did it and included many other
resources to create this look.
STENCILLED SIGNS - ideas, colors, and textures
This first cabinet door was painted with ASCP Coco
and stenciled in white. Dark
wax was applied only on the outer frame and edge and some heavy sanding was done to distress the whole sign.PRIMITIVE CLOSET - fixing up an armoire
I hurt my shoulder a while
back but as it starts to heal
I start to get anxious wanting
to move around and create or
fix something.
back but as it starts to heal
I start to get anxious wanting
to move around and create or
fix something.
HOW I CREATED A RICH ESPRESSO FINISH - with chalk paint
BUT DOES IT COME IN BLACK?
We all know AS Chalk Paint doesn't come in black and I wanted a nice dark rich finish. I only had AS Graphite to work with, which is a flat charcoal color. How was I going to pull this off.
HOW TO MAKE YOUR OWN STENCILS - sheet music dresser
I want to show you how
I make custom stencils,
the size I need, the shape
I want and inexpensively.
OLD WORLD TRAVEL - vintage travel themed chest
I worked on making a vintage travel themed chest of drawers,
and it turned out amazing.
It started as a beautiful forest green dresser.
When was it in style to paint with this color.
Oh ya the 80's!
The entire dresser was scraped and sanded.
(disclaimer) NO STRIPPER (disclaimer)
was employed during the making of this project.
George was upset, he wanted a stripper.
I left tiny hints of each of the 3 paint
colors that had been painted on it before it came to me.
This added to the vintage feel.
The 3 colors were green, white, and cream.
After getting it all cleaned and sanded I started to
paint the *stamps* on the face of the drawers.
It was all done by hand.
Before adding the elaborate brass handles and
key plate it was stained with a walnut stain
and polished with finishing wax.
First I sketch with pencil a Fleur De Li, then went
over the outline with a fine sharpie marker.
It was then filled in with fat chisel tip marker.
The finer sharpie marker didn't seem to come off during the antiquing part.
You can see above how the outline
stayed and the filled in part lifted just right.
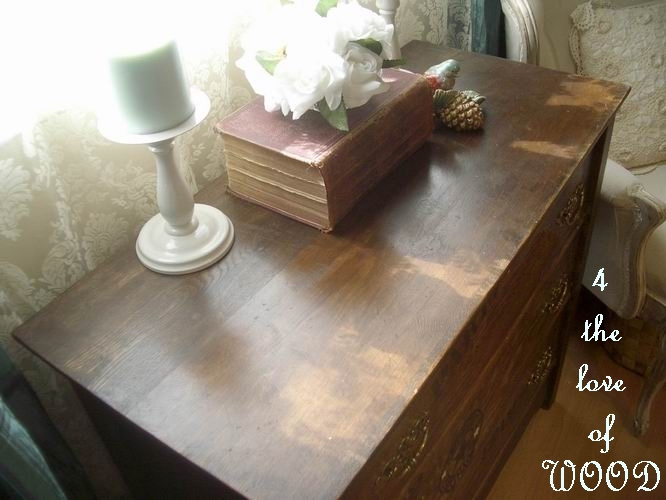
The top was finished in the walnut stain also and hand rubbed with wax.
*****************************************
PLEASE STOP IN TO SEE WHAT IS NEW
in shabby chic white hardware at
We have over a 1000 pieces of
used hardware to choose from
Subscribe to:
Posts (Atom)
Email your Questions or Comments
POPULAR ARTICLES
-
Did you install some trim in your home and lost steam when it came time to hide the finishing nails? You can always go back la...
-
JUST A SIMPLE SHABBY CHIC REDO ON A UNIQUE DESK BREAD BOX STYLE SLIDING DOORS NEAT EH? <--- canadian ...
-
Learning how to use dark wax can be tricky. Using it on white paint can be terrifying . I have done a short video showing h...
-
I hate seeing vintage furniture made of real wood get discarded . Folks just can't see the potential. That's what happene...
-
When you come across a piece of furniture that has a missing a drawer, what do you do? For this project I turn this space into ...