When you live in a small space like
I do, it is great to have things that are
dual purposed. To help with organizing
the work space I overhauled a picture frame into a message center and I enjoyed this DIY project that included making a chalk board.
 |
| It all started with a picture frame that had been passed down in the family. |
I cut a board to fit into one half of the frame, for the chalkboard side. The lightweight board was from the bottom of a drawer. I sprayed several thin coats of Krylon chalkboard paint on the board, letting each coat dry before proceeding onto the next.
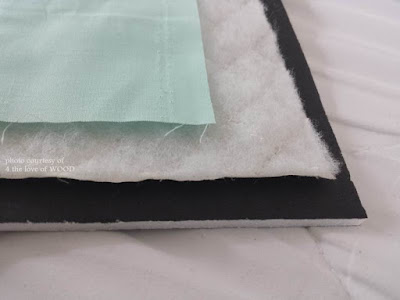
The next step was to fit some foam core board for the other half of the frame. I found the foam core at my local dollar store. I wrapped the foam board in batting and pretty fabric to make a cushioned pin board. I used hot glue to secure fabric + batting.
Once the chalkboard was finished and the cushioned pin board was done it was time to secure them both into the frame. I used a staple gun on the back side of the frame as seen below.
Then you can clean up the back and make it look more professional by hot gluing brown paper over the back side of the frame. Next time you're in the grocery checkout, ask for paper bags.
At this point the message center was done and usable, but I added a couple more optional things to mine.
 |
| An overturned cup/bin pull to hold chalk and push pins |
 |
| crisscrossed rope with upholstery tacks |
Hang it up in your work space and enjoy!
YOUR DIY MESSAGE CENTER
********************************************
Have you stopped into firstfinds hardware store lately?


