I did name this blog because
of my love for working with wood. And
even more I prefer saving
wood furniture from the landfill. Come
and see how I used two roadside finds
to create one fabulous piece of furniture.
The blonde dresser shown below is where it started. It was something I picked up
on the road 2 years ago and I had been eager to use it in the right project.
It is solid wood and probably from the late 50's with interesting curves and strong lines.
I set up the dresser outside so I could vacuum it out and look for any repairs that were needed.
I was pretty sure it would also need some legs but I had to pick the right ones for the
shape and size of the dresser. In the end I chose a strong stocky little queen anne leg.
The next step was to get it painted and I also did that out in the yard with my HVLP sprayer.
I mixed 50/50 Old White and Pure White both Annie Sloan Chalk Paint colors.
I used real wood flooring to make component shelves in the center and I used a thick rope trim for the
edge. Both the flooring and the trim would be used on the bottom cabinet as well as the top cabinet to
tie the two pieces together. The box of flooring and rope trim I used were purchased at the same local
Habitat Store.
The second part of this cabinet project was to build a TV surround for the top.
I had this very distressed roadside cabinet (shown above) that was solid wood and the right size.
Most of the parts that were badly damaged I didn't need, so it ended up being the perfect piece to use.
Once I deconstructed and rebuilt the upper portion I painted and waxed it all in the back room.
The next step was to put the backboards in and that is where I use the wood flooring again
to coordinate with the shelves in the bottom cabinet. Here is a better look at the wood flooring
right before it was installing as backboards in the upper cabinet (below)
My favorite part of this build was how great this natural wood color looked against the creamy white.
I trimmed the upper cabinet with more of the rope trim and did just the right amount of distressing
to the whole cabinet.
On the handles I did a faux finish using paint and wax.
And I added a little Provence to give them an aged copper look.
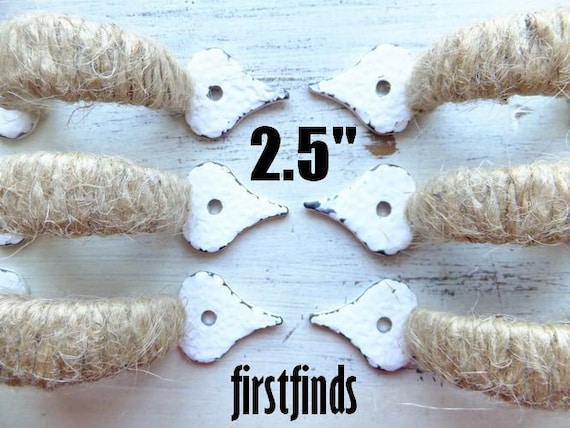
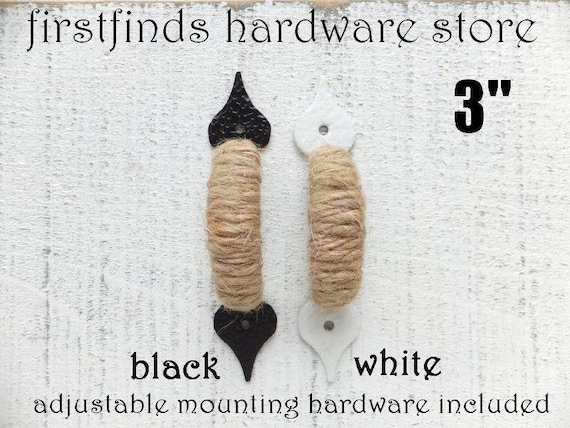
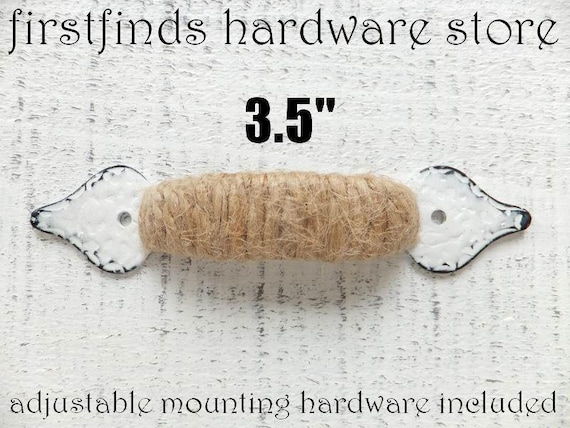
If interested in a similar look I have some of these handles listed here:
BEFORE AFTER
****************
Some of you might be asking if the middle drawers were missing or did she throw them out?
Well in fact the dresser was complete with fancy curved drawers but moisture had got to them.
I did my best to fix one but there was too much damage to the layers of wood.
Sometimes I wonder what I might be able to create if I actually
had a workshop or maybe it all works because I don't!
********************************************
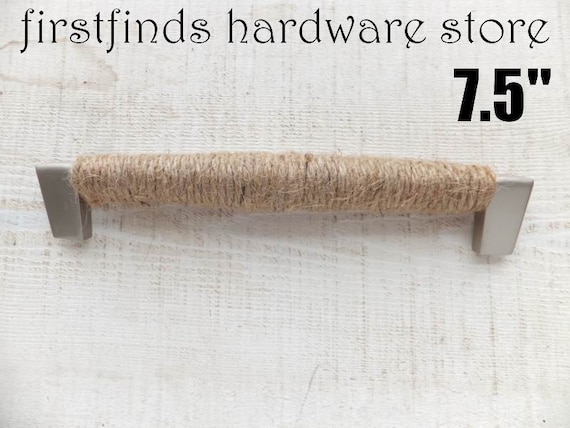
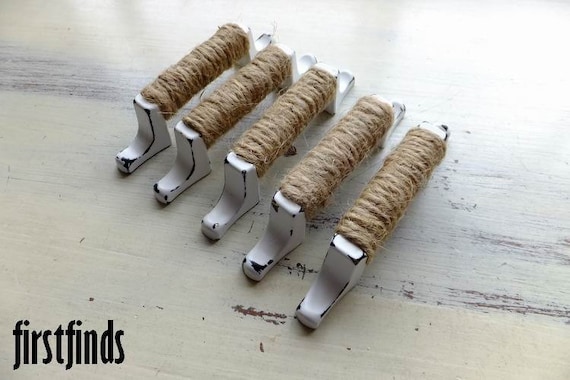
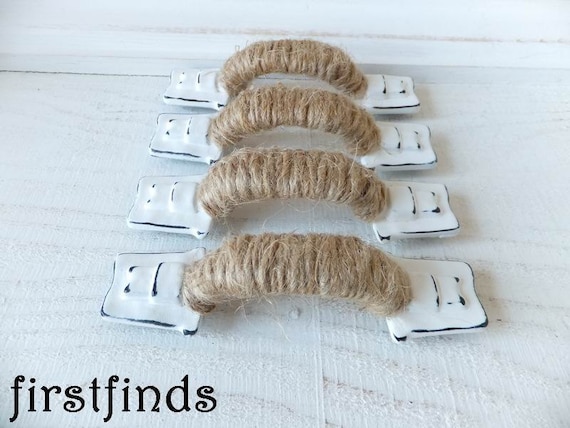
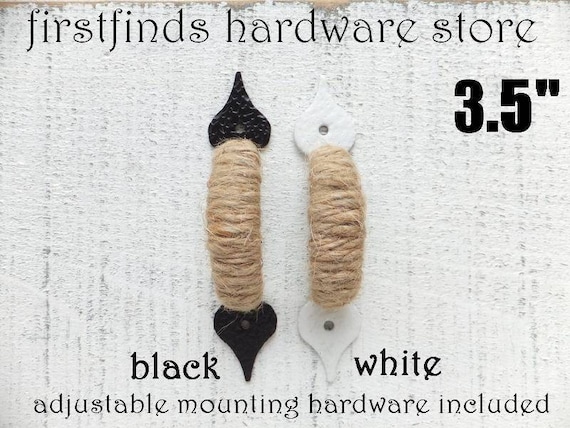
Have you stopped into firstfinds hardware store lately?
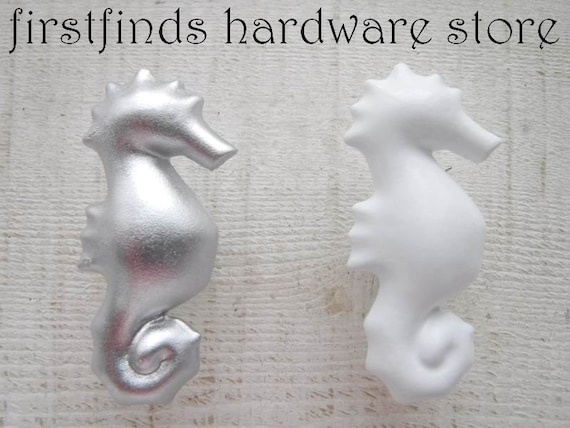
Here are just some of the items available for your projects.
click on each photo for more information
click on each photo for more information
click on each photo for more information
TIL NEXT TIME


