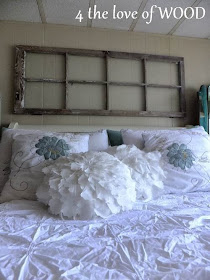
When we moved our bed onto an open wall I knew I had to find a great focal point for above that I was going to love. Little did I know so many others were going to like it too and ask so many questions about it.
I have a few windows hiding around the house tucked here and there, that I use for photo shoots. When I saw the size of the space over the bed matched the size of one of my staging windows I was a little reluctant to trying it above the bed because if it worked that would be the end of it's modelling career, so I thought.
Just to clarify, our window isn't actually the headboard, it
hangs above my existing bed frame. I'm not sure I would be
comfortable having pillows leaning up against the glass if it
was hung lower.
**********************************************************************
Our bed is a queen measuring 60" wide and my window also
measures 60" wide. To hang it securely so I could sleep
soundly every night I located 2 studs in the wall and marked
them. I then held the window in place and marked where the
studs would meet the window frame. I screwed picture "D"
hangers on the back of the window frame and drove screws
into the wall studs to have the "D" hangers hook on to. It never moves.
Most of the wood is bare but it has some great chippy white
paint on it that you don't get to see very well in photos. It also
has a rusty handle locking thing at the middle of the top that
I can hang things from through out the year.
If you can't find a long window to match your bed width
consider 2, 3, or 4 smaller windows that can be hung in a grouping.
consider 2, 3, or 4 smaller windows that can be hung in a grouping.
Our headboard has changed since I first hung the window but you don't even notice because the window is the star of the show.
****************************************************
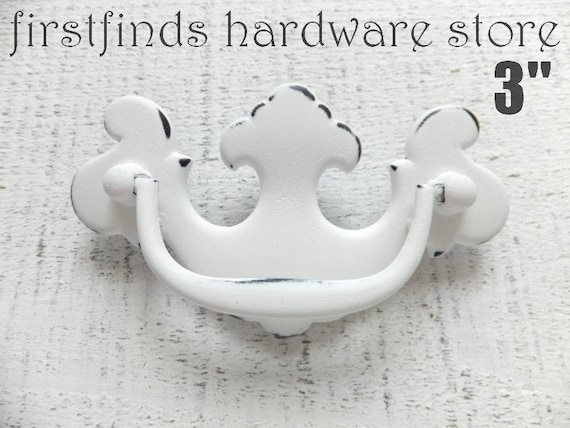
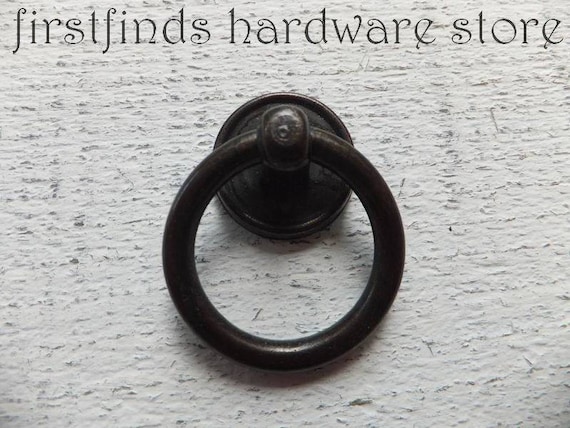
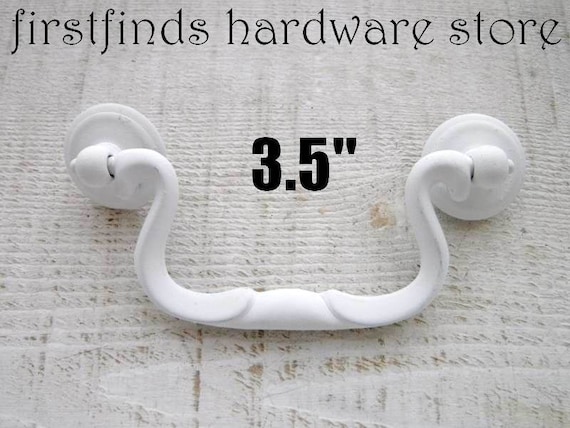
Stop into FIRSTFINDS HARDWARE STORE to see
if we have any vintage hardware for your next project.
CLICK EACH PHOTO FOR MORE INFORMATION
CLICK EACH PHOTO FOR MORE INFORMATION

