It seemed to be too much to take on for the previous own
that's when she pass it along to me.
I didn't need to use any chemical stripper for this one.
The paint was ready to be chipped and scrapped off.
Half way there, can you tell how tired I am by now?
Truth is I loved every minute of it.
See all the mess I'm making.
Oh boy chipping paint off turned legs ... JOY!
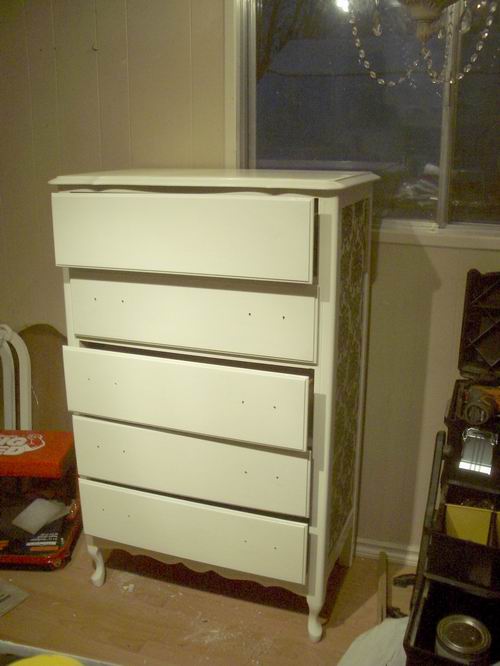
I made sure all the drawers worked great.
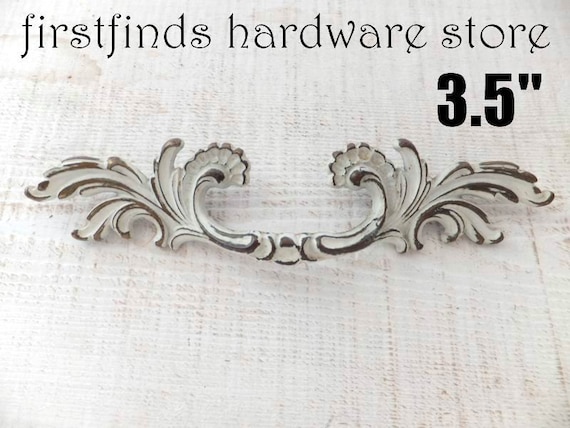
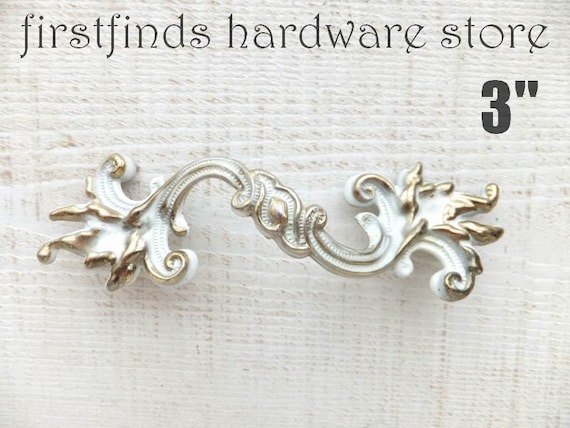
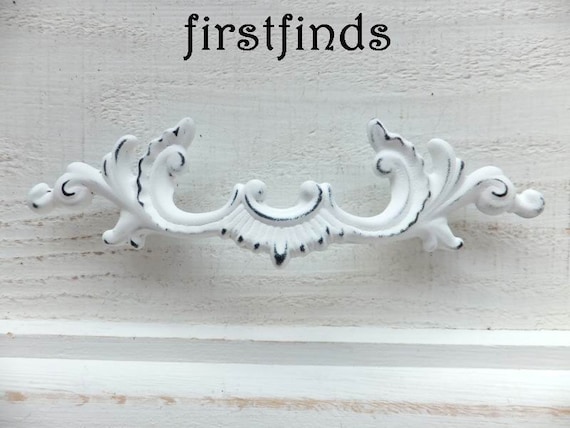
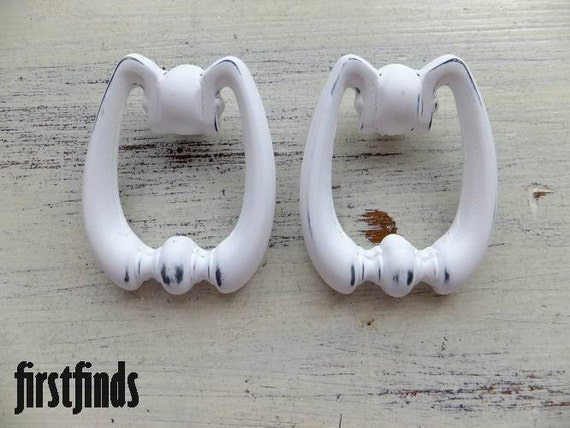
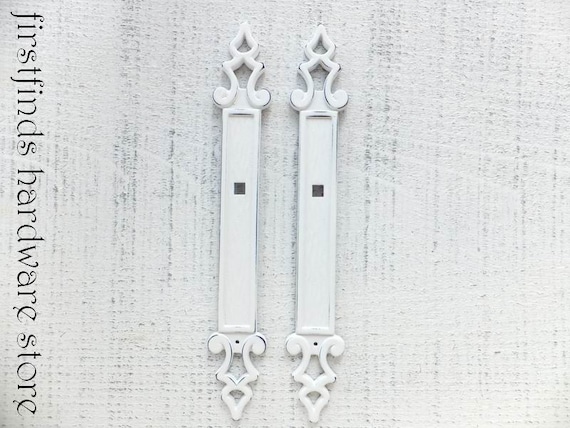
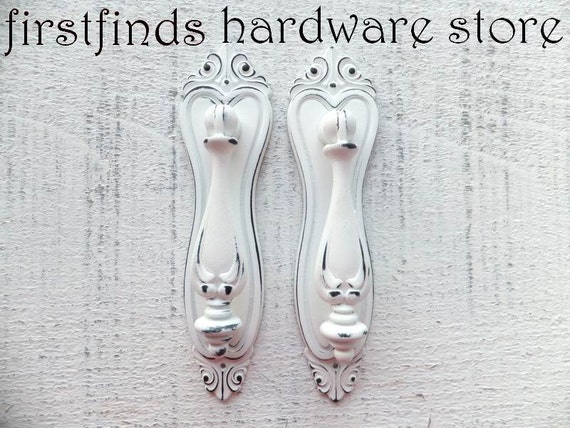
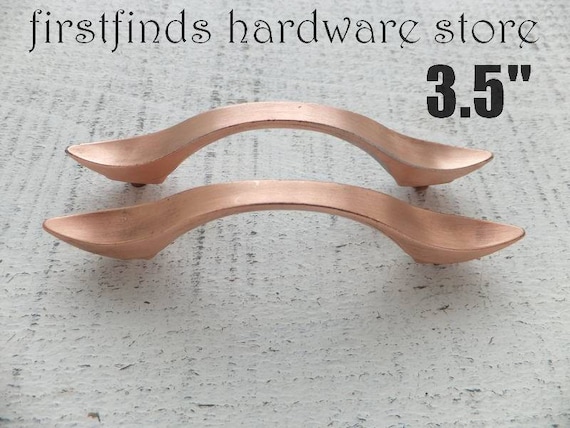
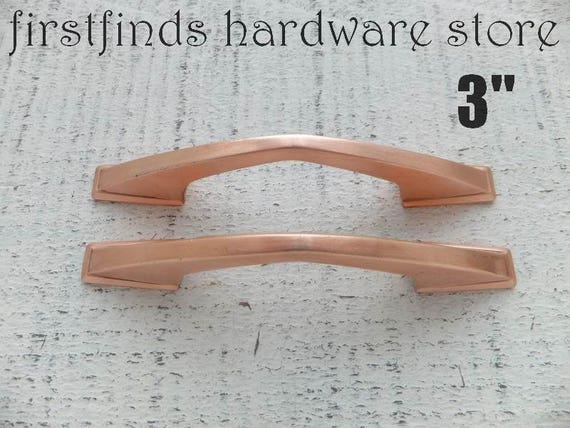
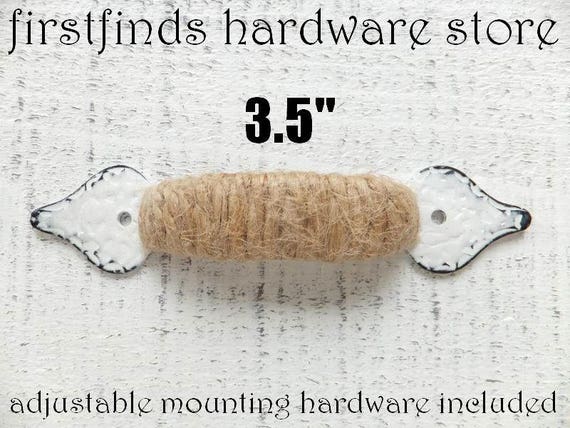
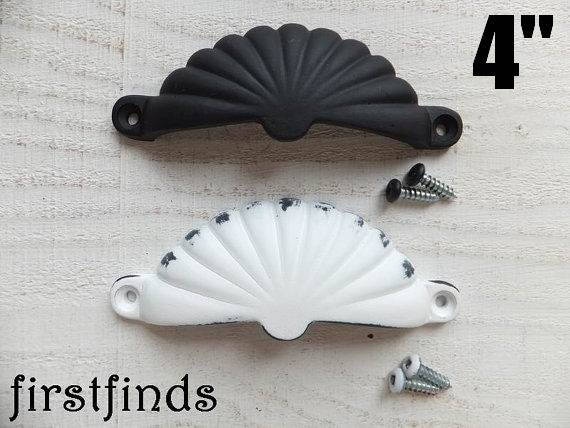
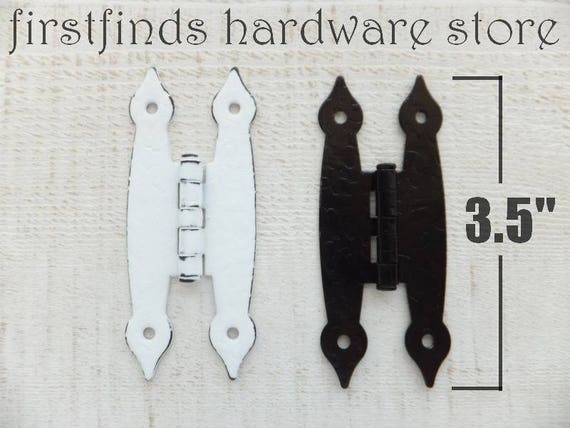
Added vintage hardware that would dress her up just nicely.
Followed with a few decorative appliques.
But she still seemed to need something more.
That's when she got her very own mirror.
She ending up going to an early
20th century built home in N. Vanouver with a
similar dresser I had finished around the same time.
The pair were for the two young ladies of the home.
***********************************
Here are some unique hardware pieces available at